This post may contain affiliate links. Please read our privacy policy.
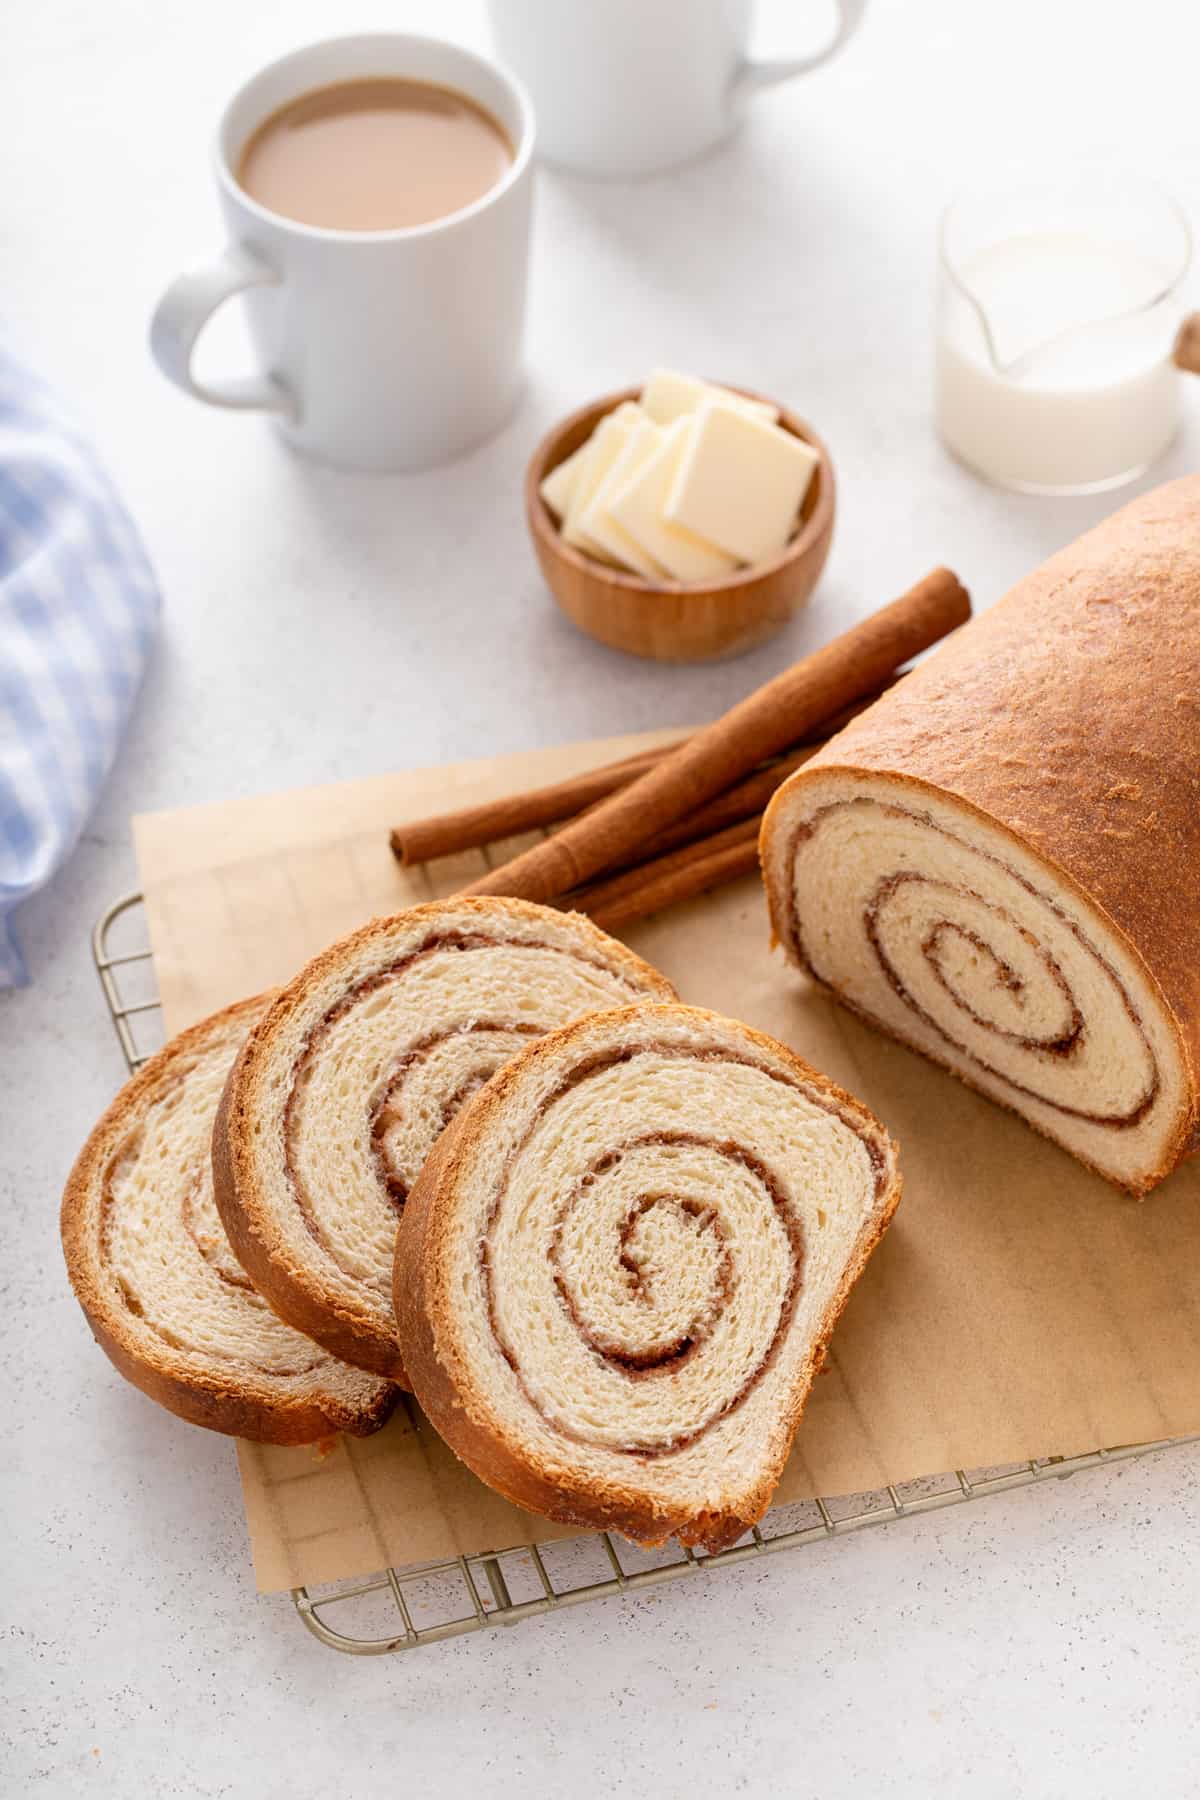
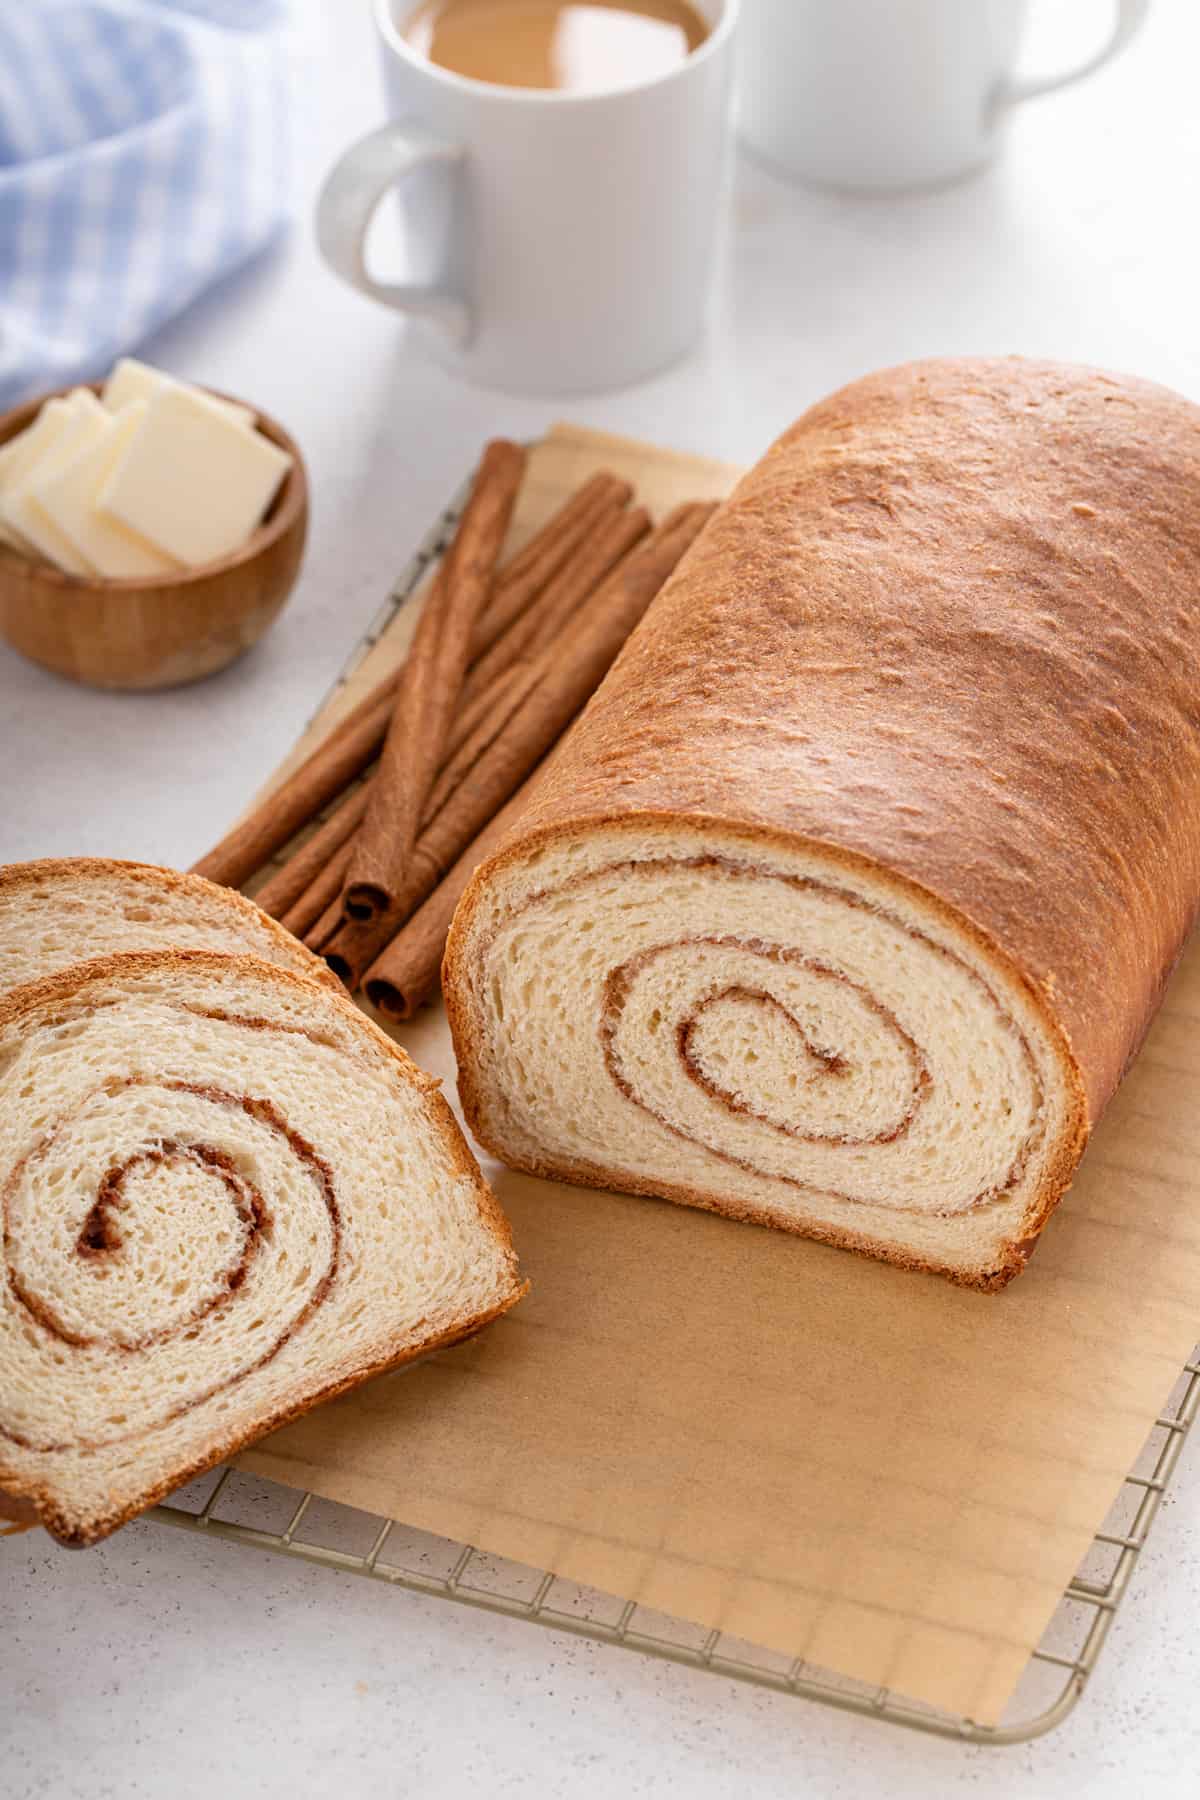
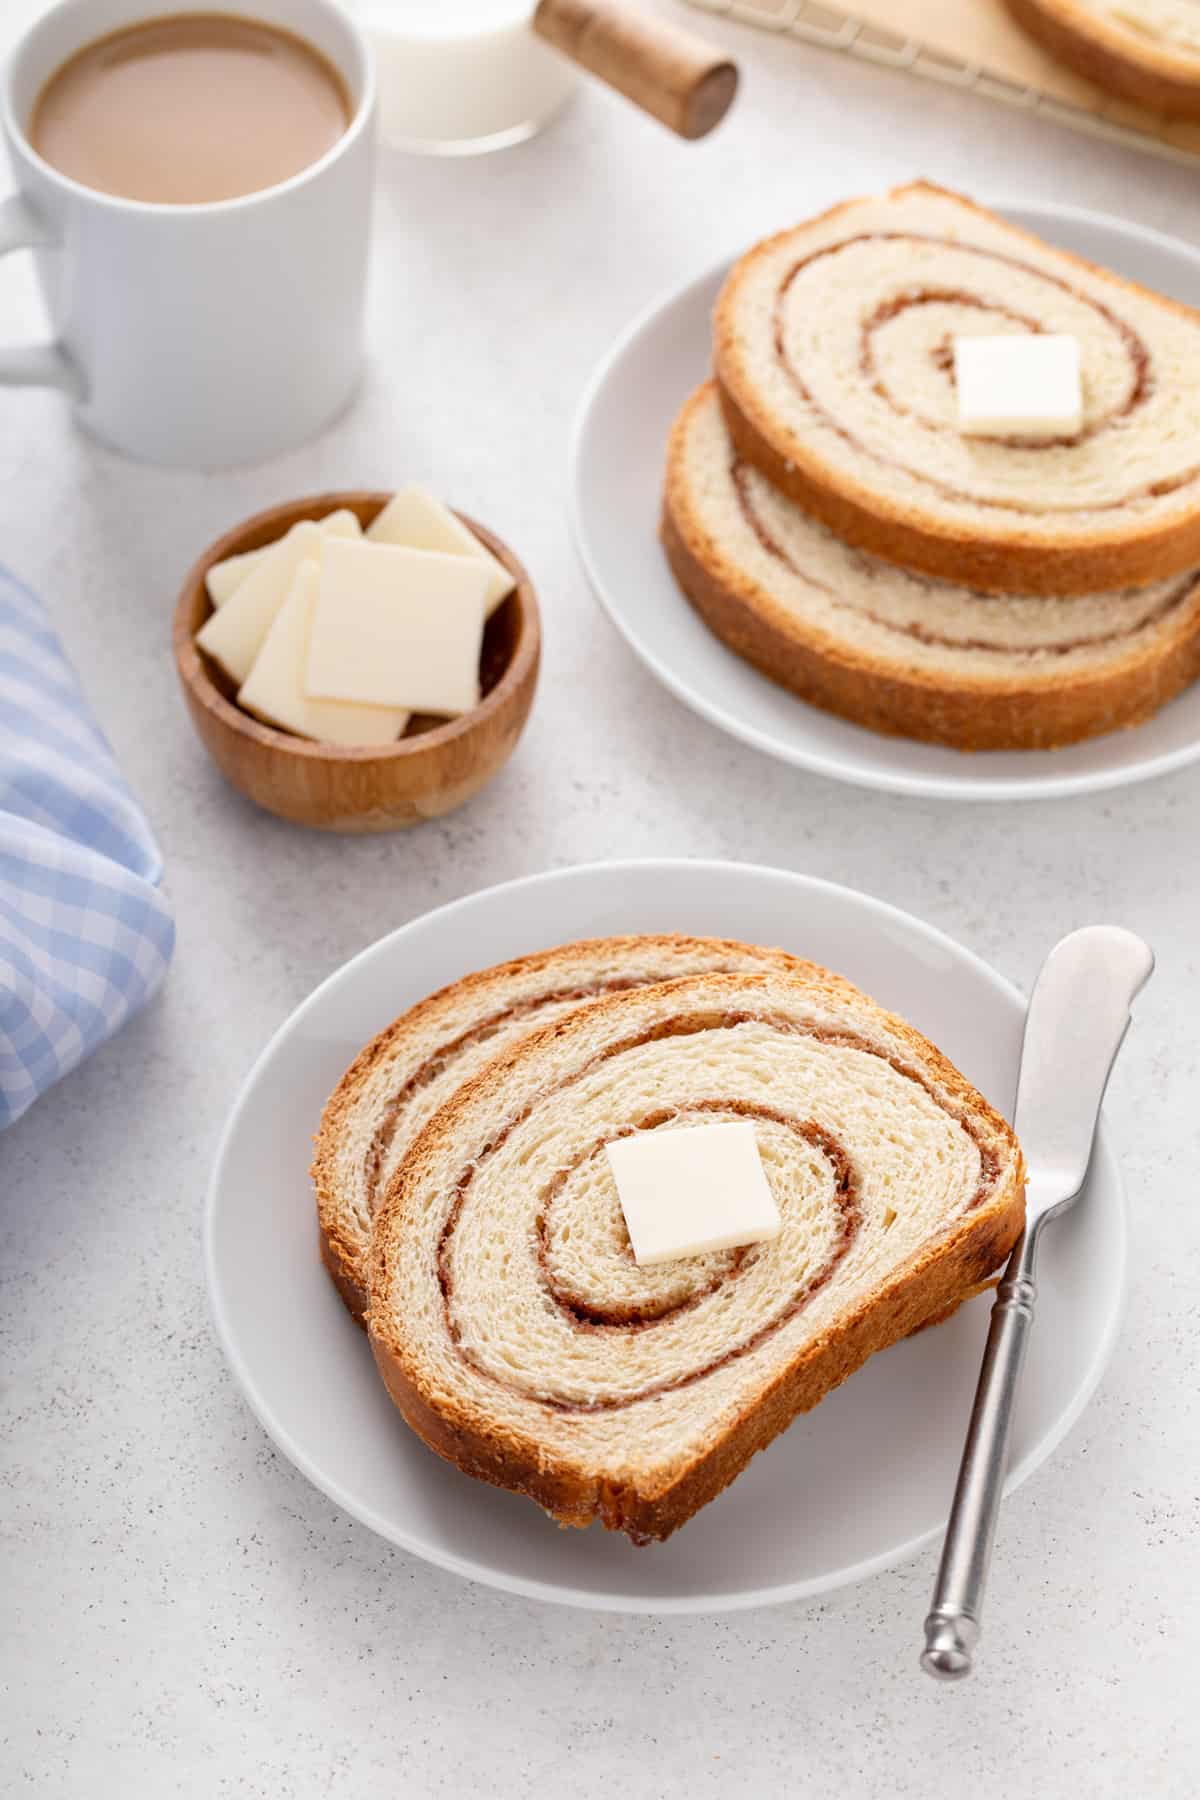
This golden loaf of bread holds a secret: a swirl of cinnamon and sugar in every slice! Toast and butter this cinnamon swirl bread for the perfect way to start the morning.
Believe it or not, I used to be totally freaked out by the idea of baking with yeast. It totally intimidated me!
But eventually I decided to give it a try with super easy recipes like english muffin bread. I gained enough confidence that now I love making everything from parker house rolls for holiday dinners to overnight cinnamon rolls for weekend breakfasts.
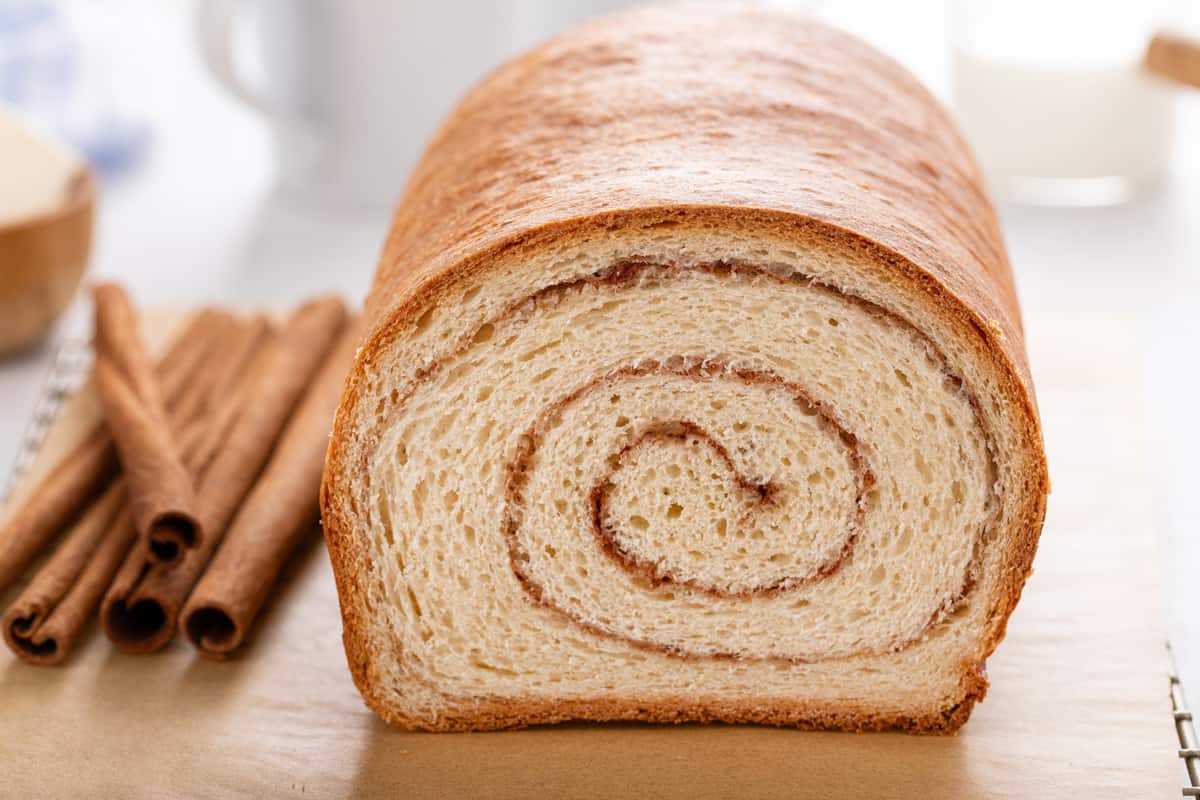
If you want to make a stunning loaf of bread, this cinnamon swirl bread is it. The bread looks unassuming at first, but when you slice into it, it reveals a beautiful swirl of cinnamon and sugar in each and every slice.
This is the type of yeast bread recipe that would have totally freaked me out years ago, but now I know that it’s not really difficult at all. So stick with me and I’ll walk you through it so you can feel confident enough to try it, too!
What is cinnamon swirl bread?
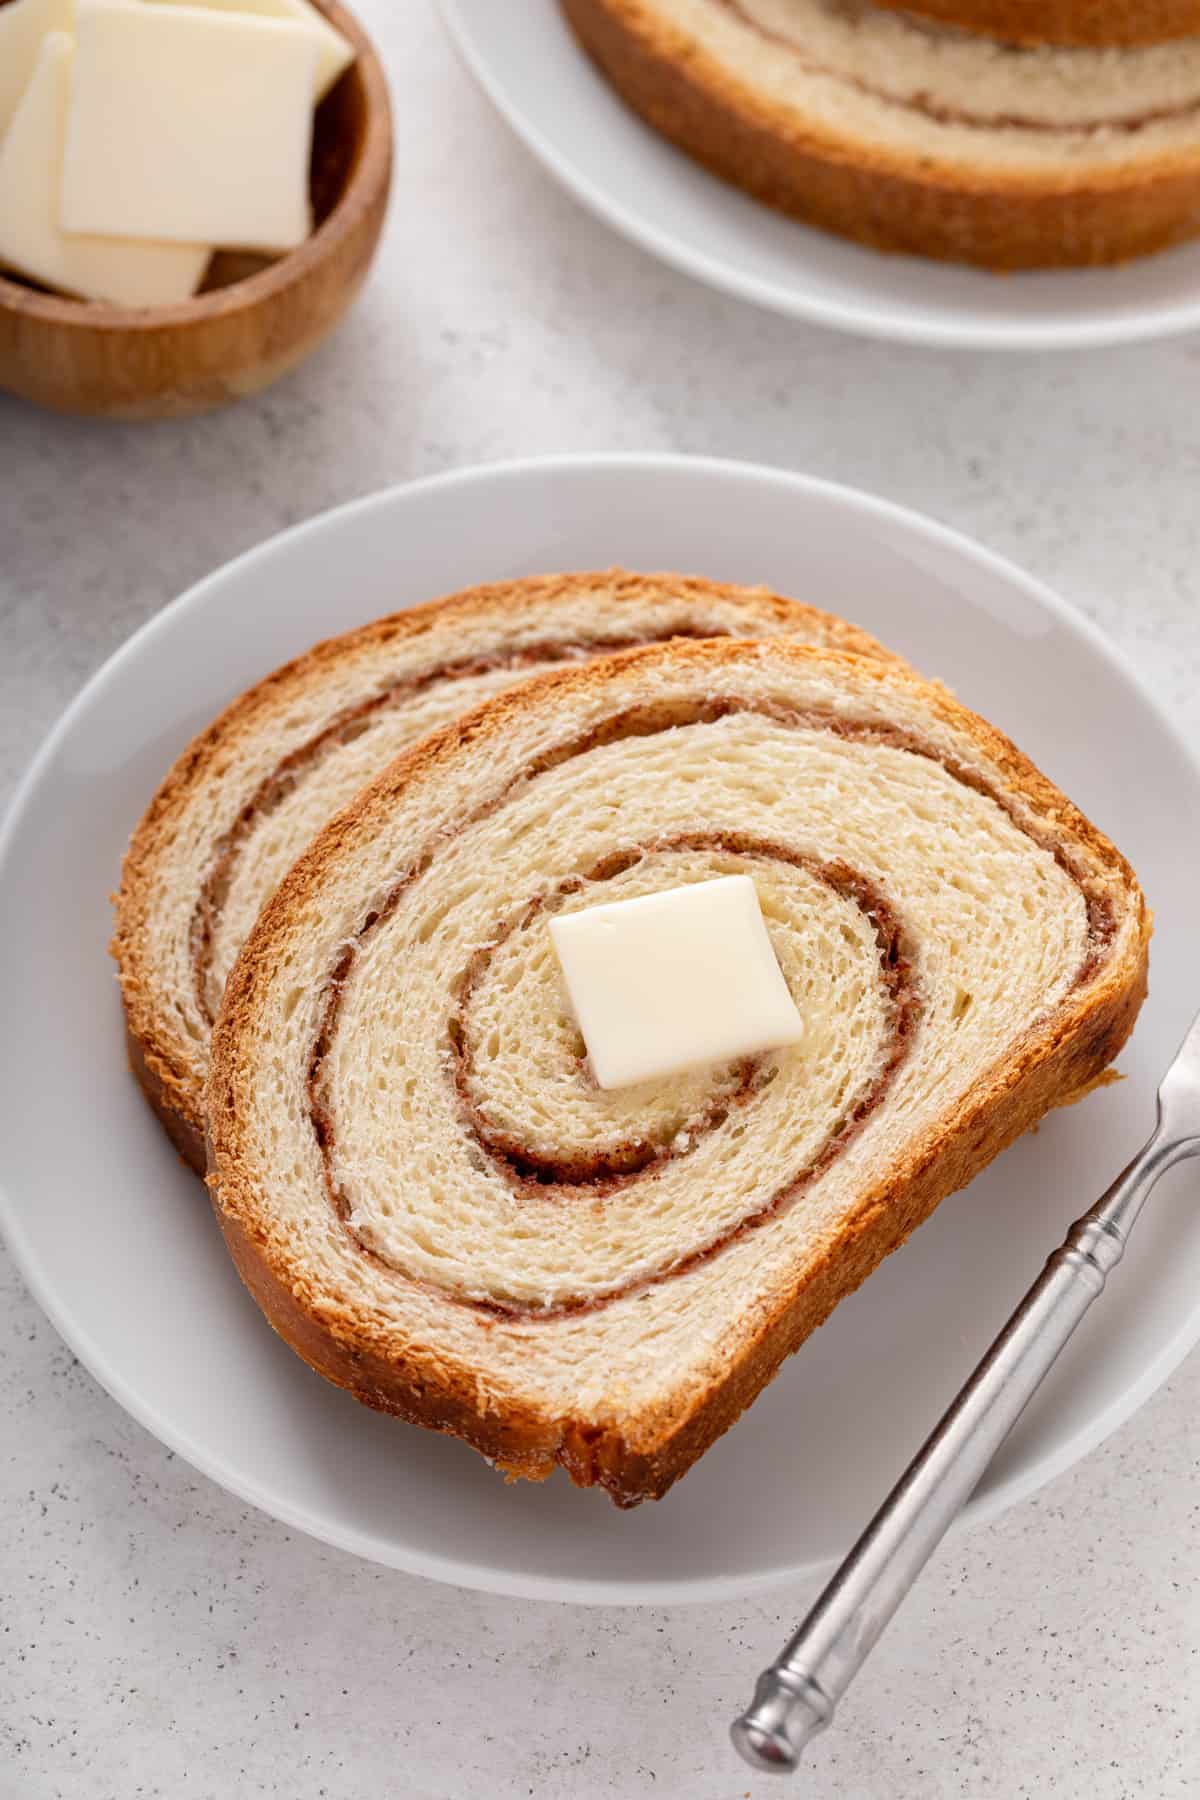
Cinnamon swirl bread doesn’t look that special from the outside. Before it’s sliced, it looks like a typical loaf of white sandwich bread.
Delicious, sure, but nothing overly crazy.
But once you slice into the loaf, you will see a perfect swirl of cinnamon and sugar that runs down the entire loaf, so each and every slice gets a pretty cinnamon swirl in it.
Stephie’s mom used to make cinnamon swirl bread when she was a kid, and she told me that her favorite thing was to eat it from the outside in, until she was left with the very center bit with cinnamon sugar on every side. Kind of like how I like to eat cinnamon rolls even now!
This cinnamon swirl bread makes for the most incredible toast, but I think it would also make for some pretty great french toast.
How to make cinnamon swirl bread
So how do you make this awesome cinnamon swirl bread? I promise it’s not as hard as it looks – but I also promise not to give away your secrets if you want people to think you worked really, really hard on this recipe.
Pin this now to find it later
Pin ItIngredients you need
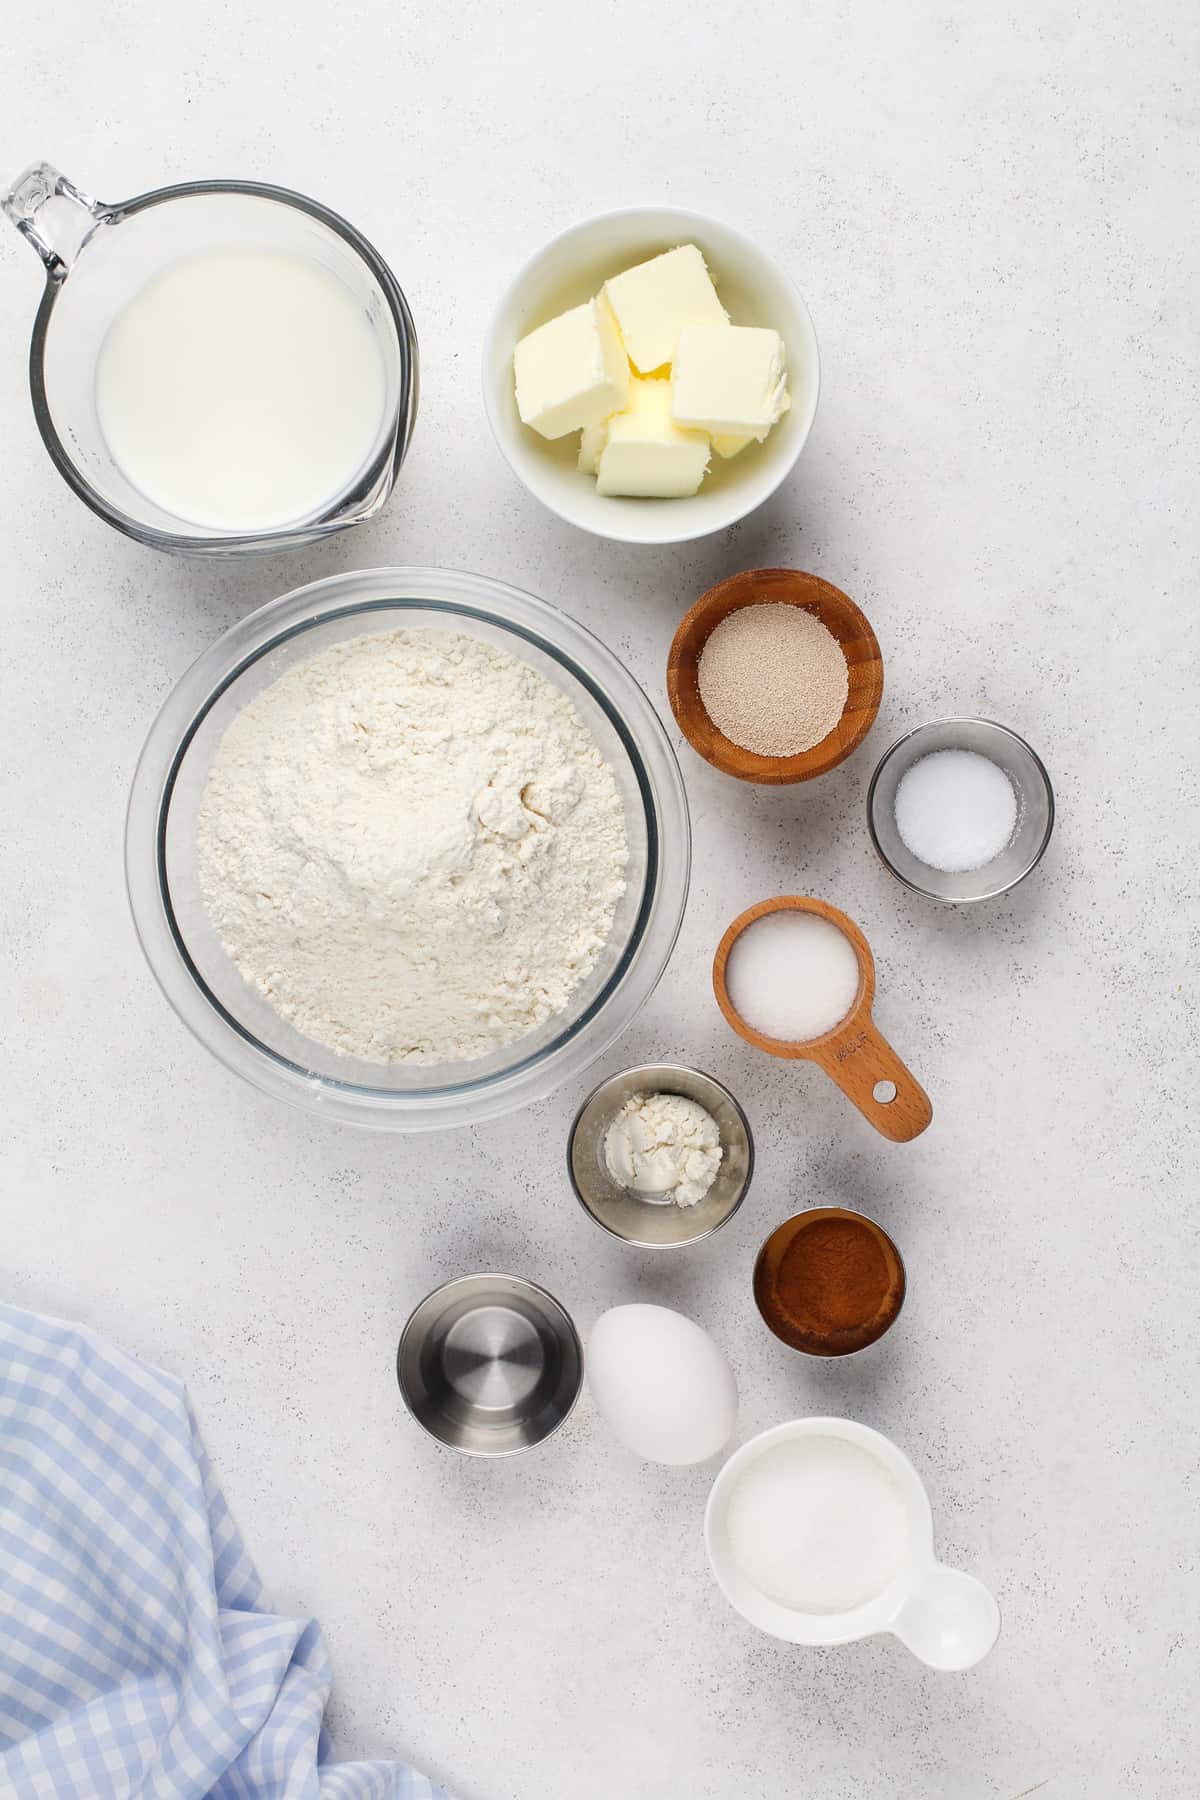
The ingredients list for this bread recipe is pretty short and probably consists of things you already have in your pantry and fridge.
For the bread itself, you will need:
- 1 cup milk
- 6 tablespoons room-temperature unsalted butter
- 2 1/4 teaspoons (1 envelope) instant yeast
- 3 1/2 cups all-purpose flour
- 1 1/2 teaspoons fine sea salt
- 3 tablespoons granulated sugar
If you forget to set your butter out ahead of time, I’ve got some tips for softening butter quickly that you can use.
You will also want to make sure you know how to measure flour correctly so that this bread turns out perfect for you every time.
For the cinnamon swirl, you will need:
- 1/4 cup granulated sugar
- 1 1/2 teaspoons cinnamon
- 2 teaspoons all-purpose flour
- 1 large egg beaten with 1 tablespoon water
Recipe Tip
You might think that the egg wash is for the outside of the loaf, but it’s actually for the inside! It will help prevent “gapping” in the swirl as the bread rises and bakes.
Making the bread dough
Start by making the bread dough. To do this, add the milk and butter into a microwave-safe measuring cup or bowl and microwave on high for about 1 minute.
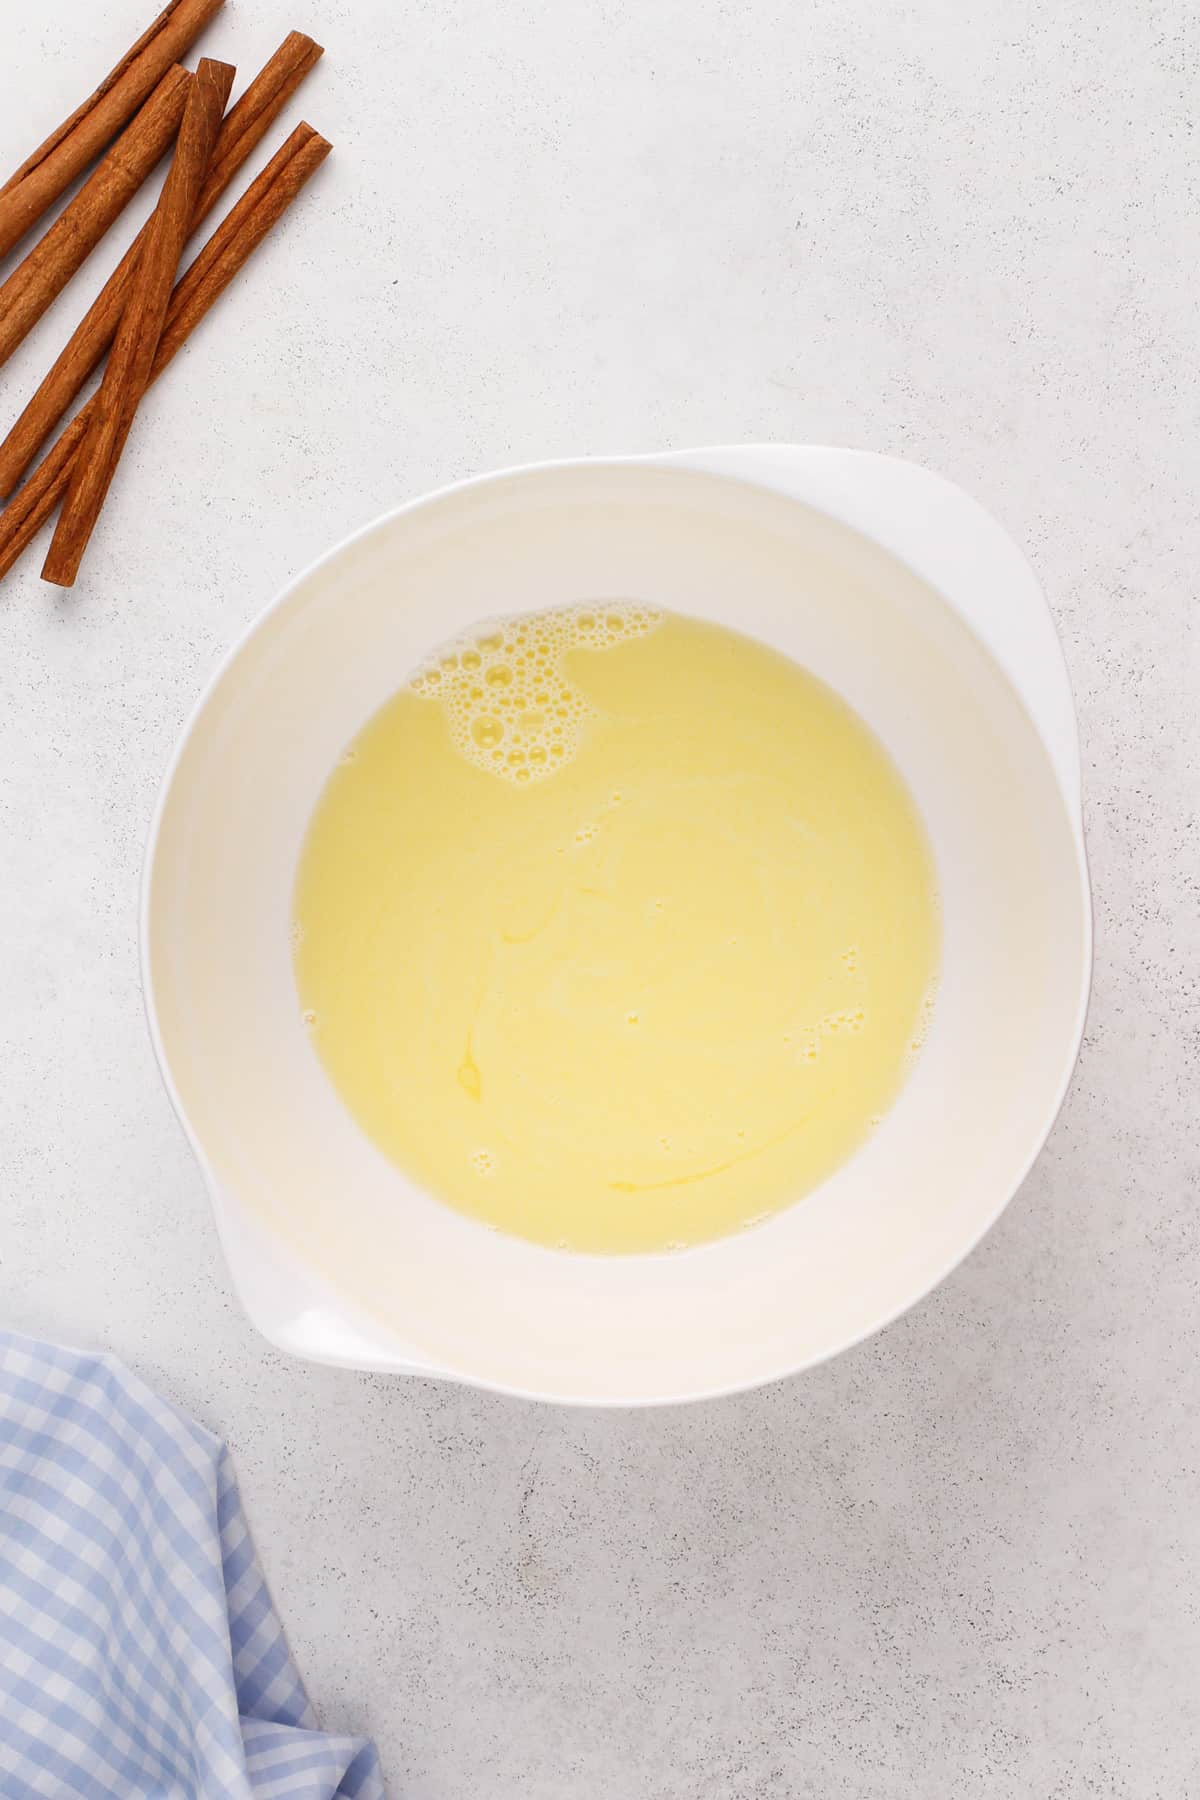
You want the milk to be warm but not hot – ideally, the temperature should read around 115℉ on an instant-read thermometer.
The butter probably won’t fully melt, but don’t stress about that.
Pour the milk mixture into a large bowl and add the rest of the dough ingredients. Mix by hand or with a dough hook until the dough comes together but is still a little bit shaggy.
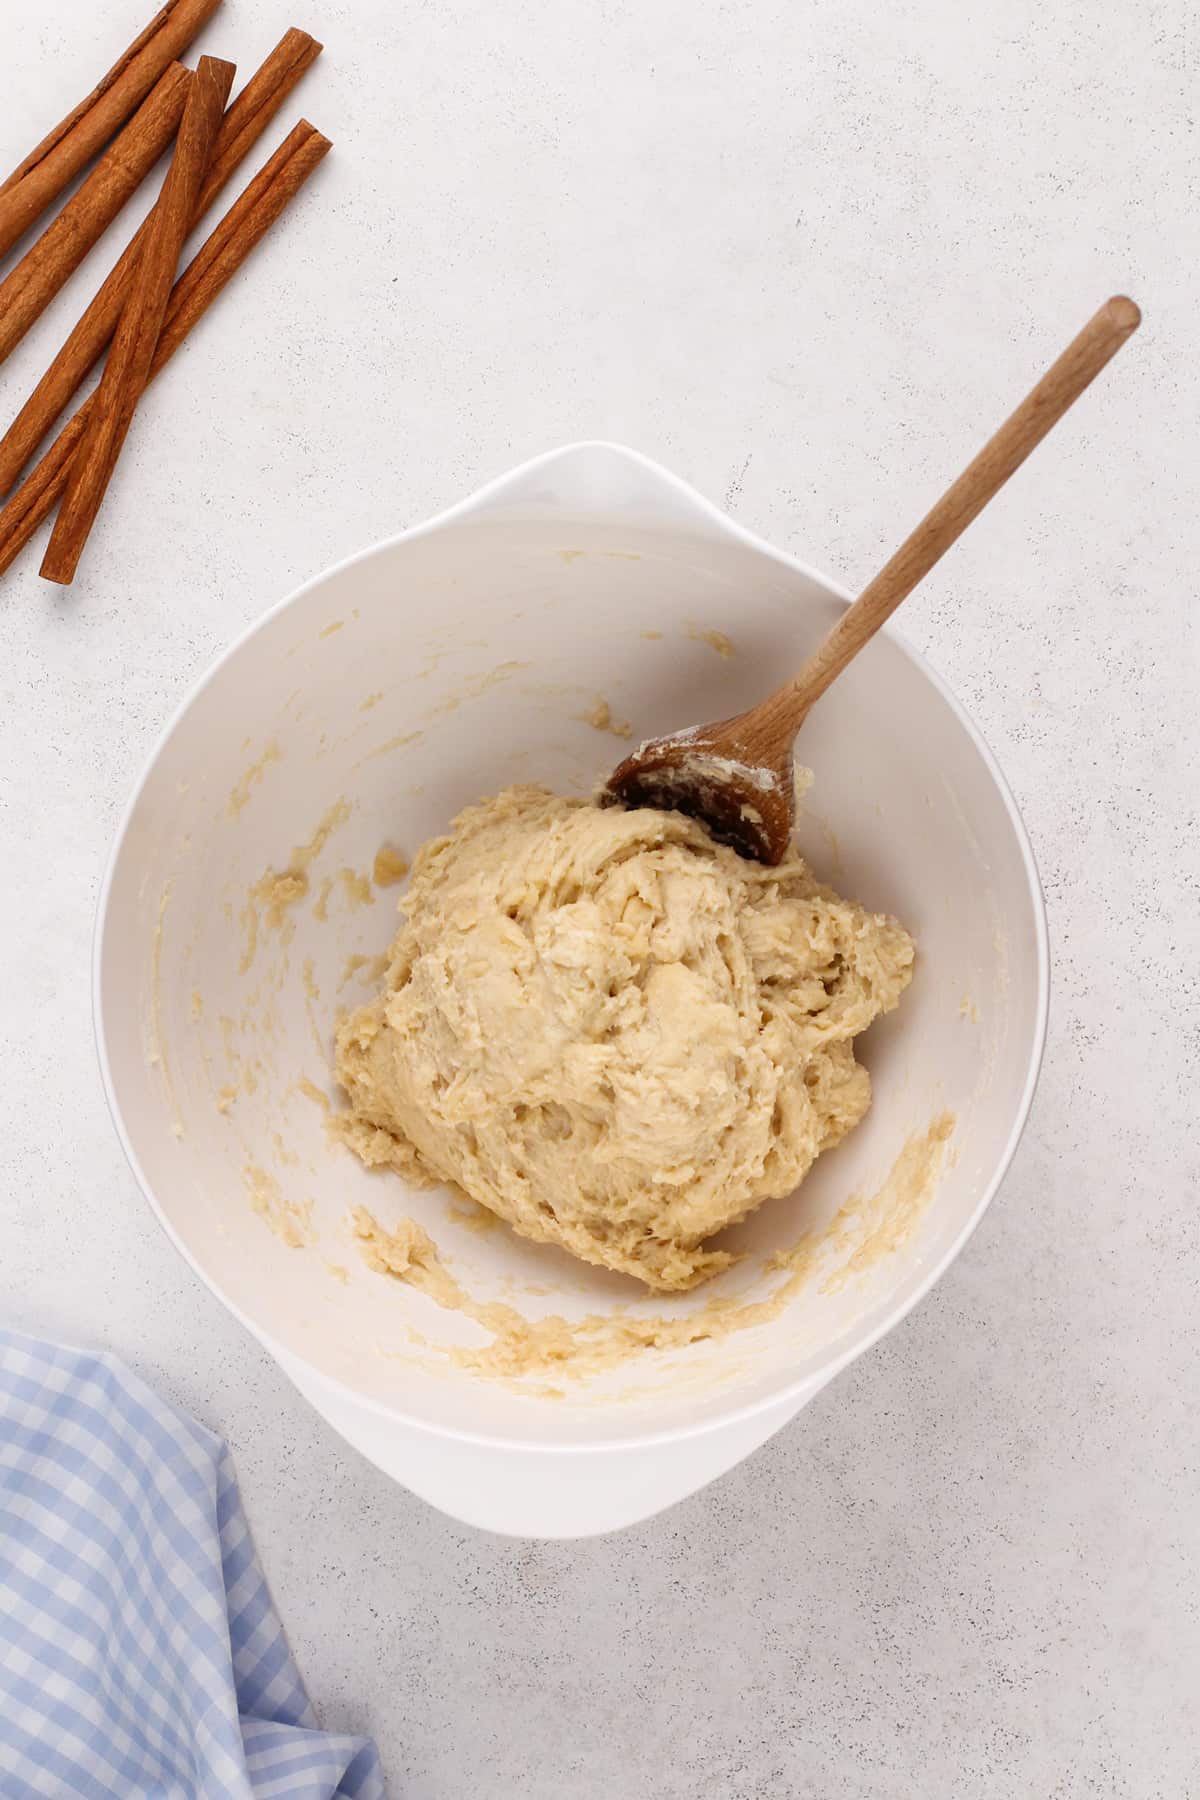
Now turn the dough onto a lightly floured surface. Knead until the dough is smooth and elastic, about 8-10 minutes.
Place the dough into a lightly greased bowl. Cover with a clean kitchen towel or piece of plastic wrap. Set the dough in a warm place until it has doubled in size – this will take around an hour.
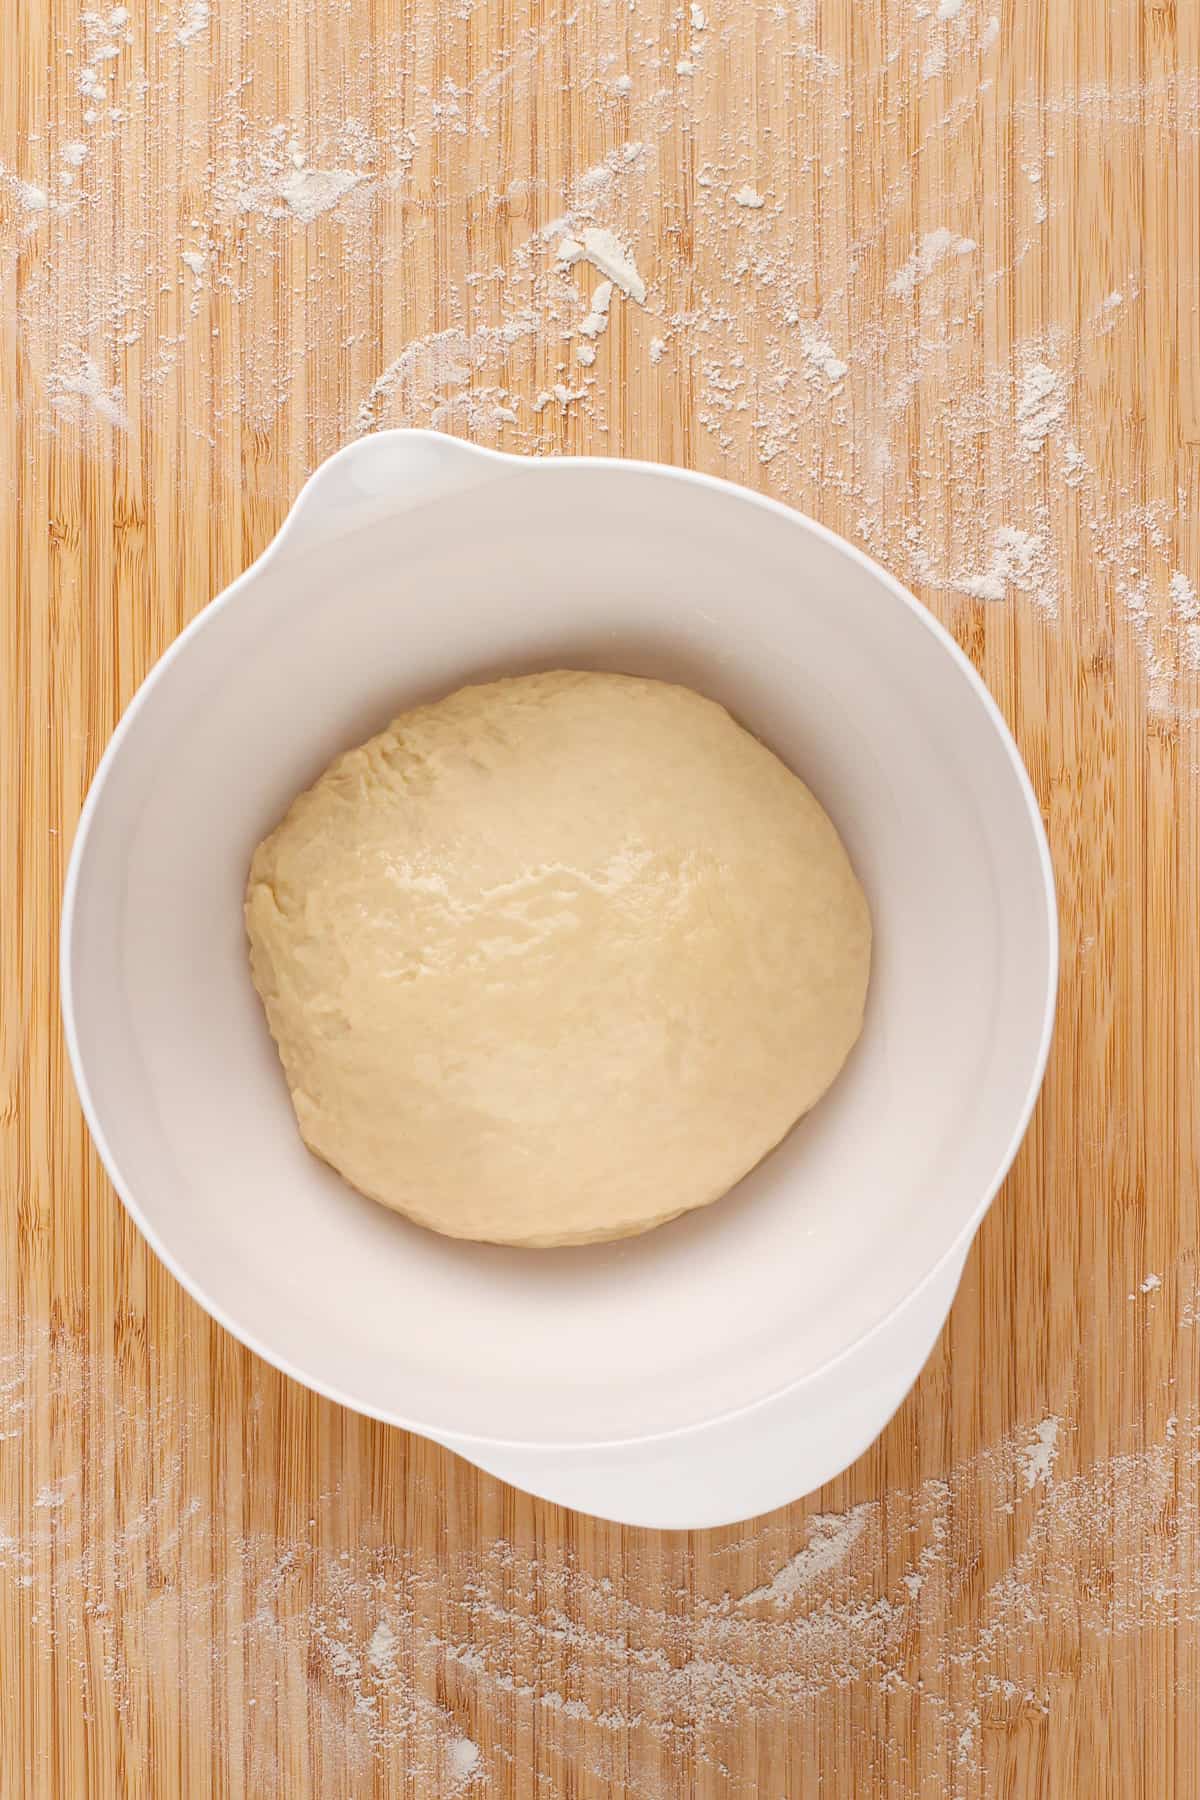
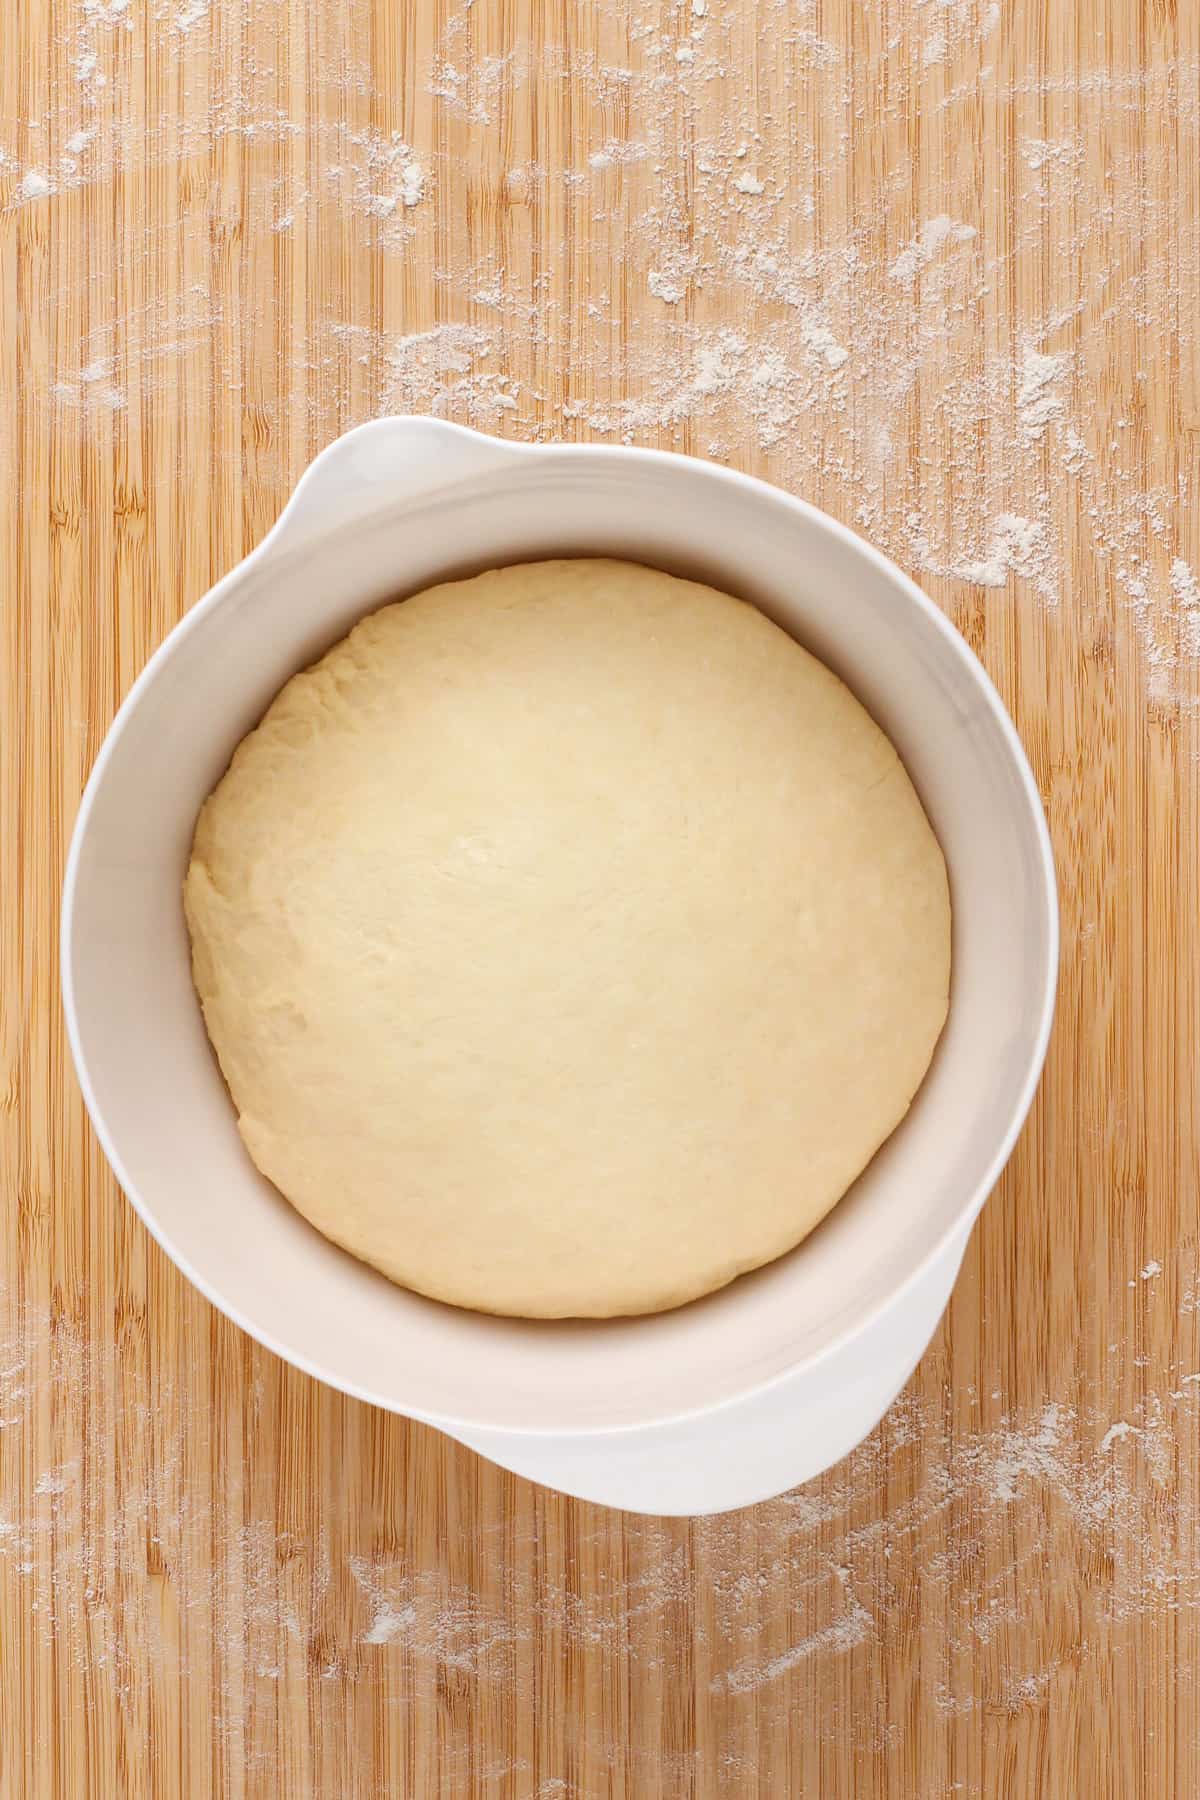
While the dough is rising, go ahead and prep your filling. Stir together the cinnamon, sugar, and flour in one bowl, and whisk the egg and water together in another bowl.
You can also go ahead and spray an 8 1/2″ x 4 1/2″ loaf pan with nonstick cooking spray.
Shaping and baking the cinnamon swirl bread
Once your dough has doubled in size, it’s time to shape the bread.
Gently turn the dough out onto a lightly greased surface and pat or roll it into a rectangle about 6 inches x 20 inches.
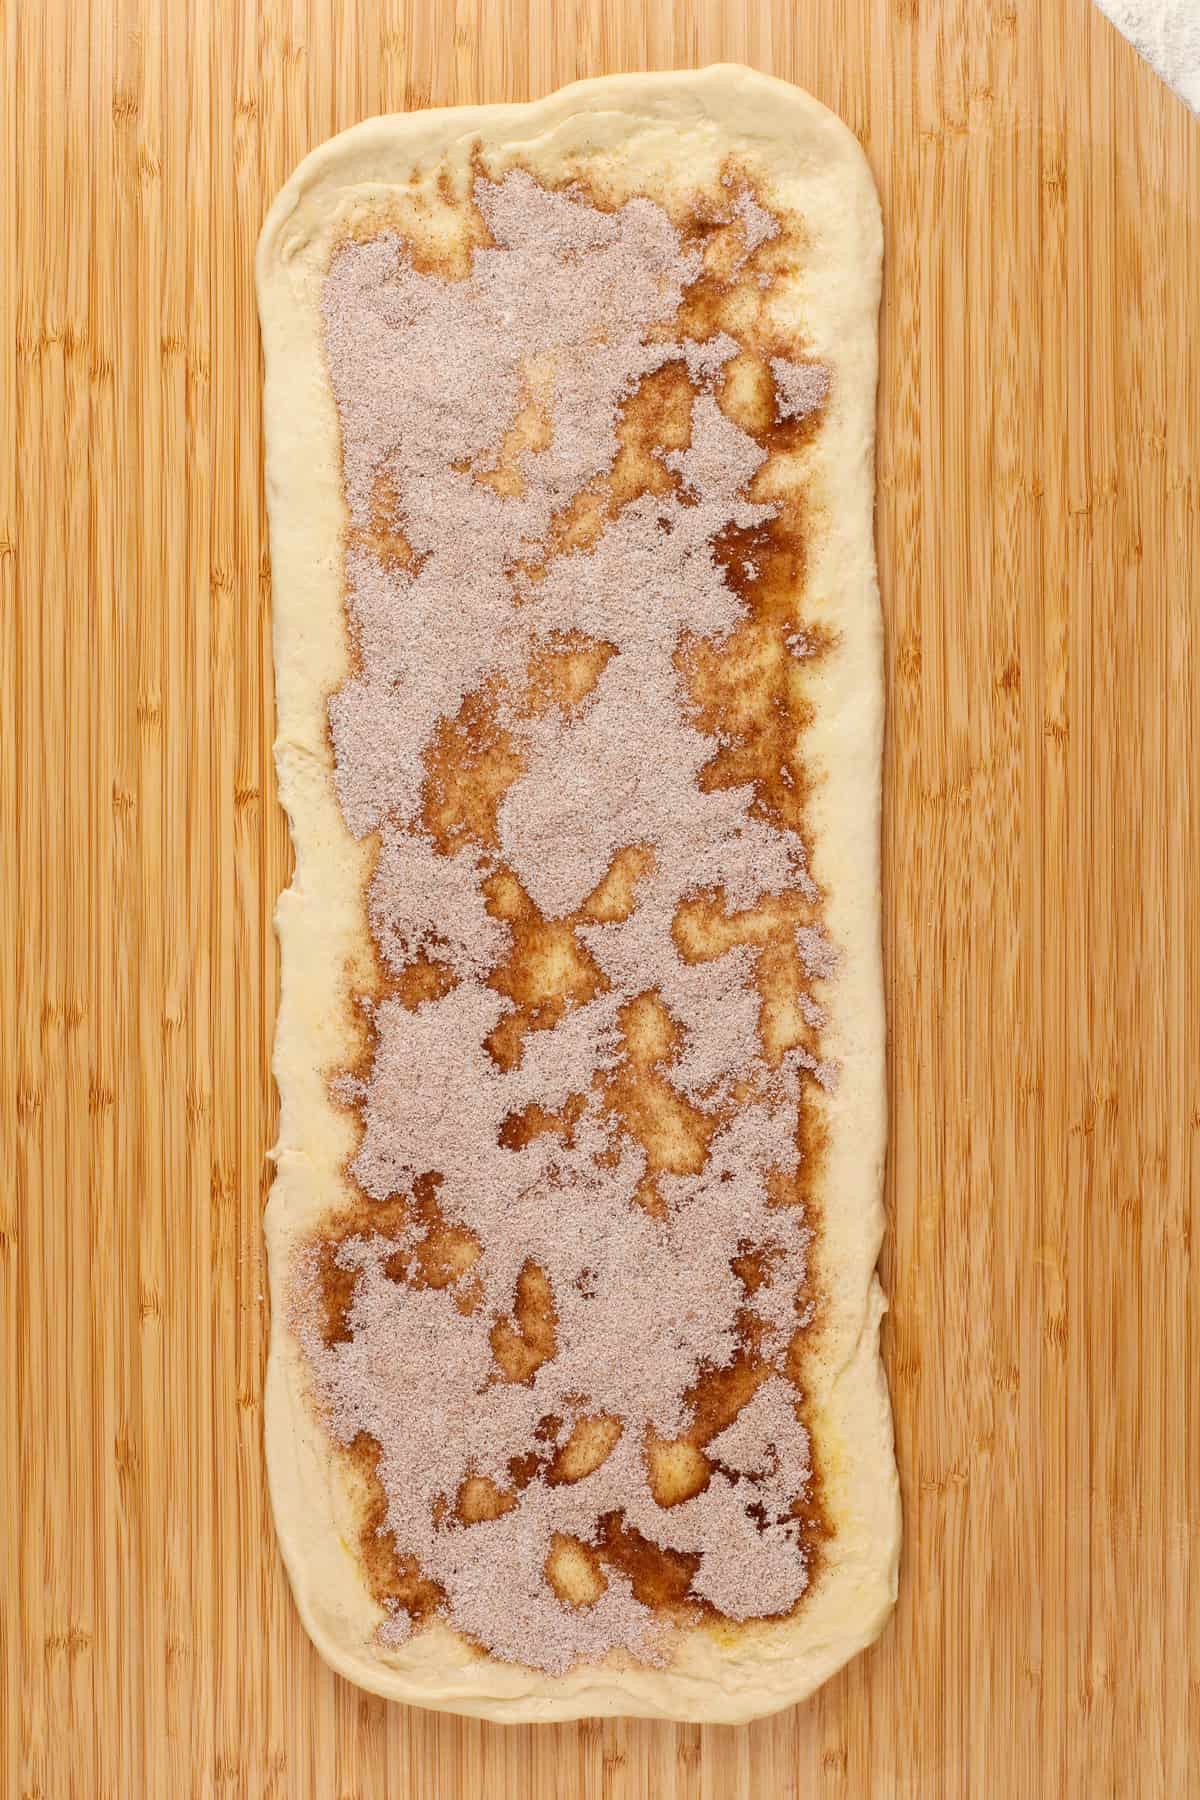
Brush the top of the dough with the egg wash, then evenly sprinkle on the cinnamon-sugar filling.
Now, starting at one of the short sides, tightly roll the dough into a log. Pinch the ends and the long seam to seal and place seam-side down in the greased loaf pan.
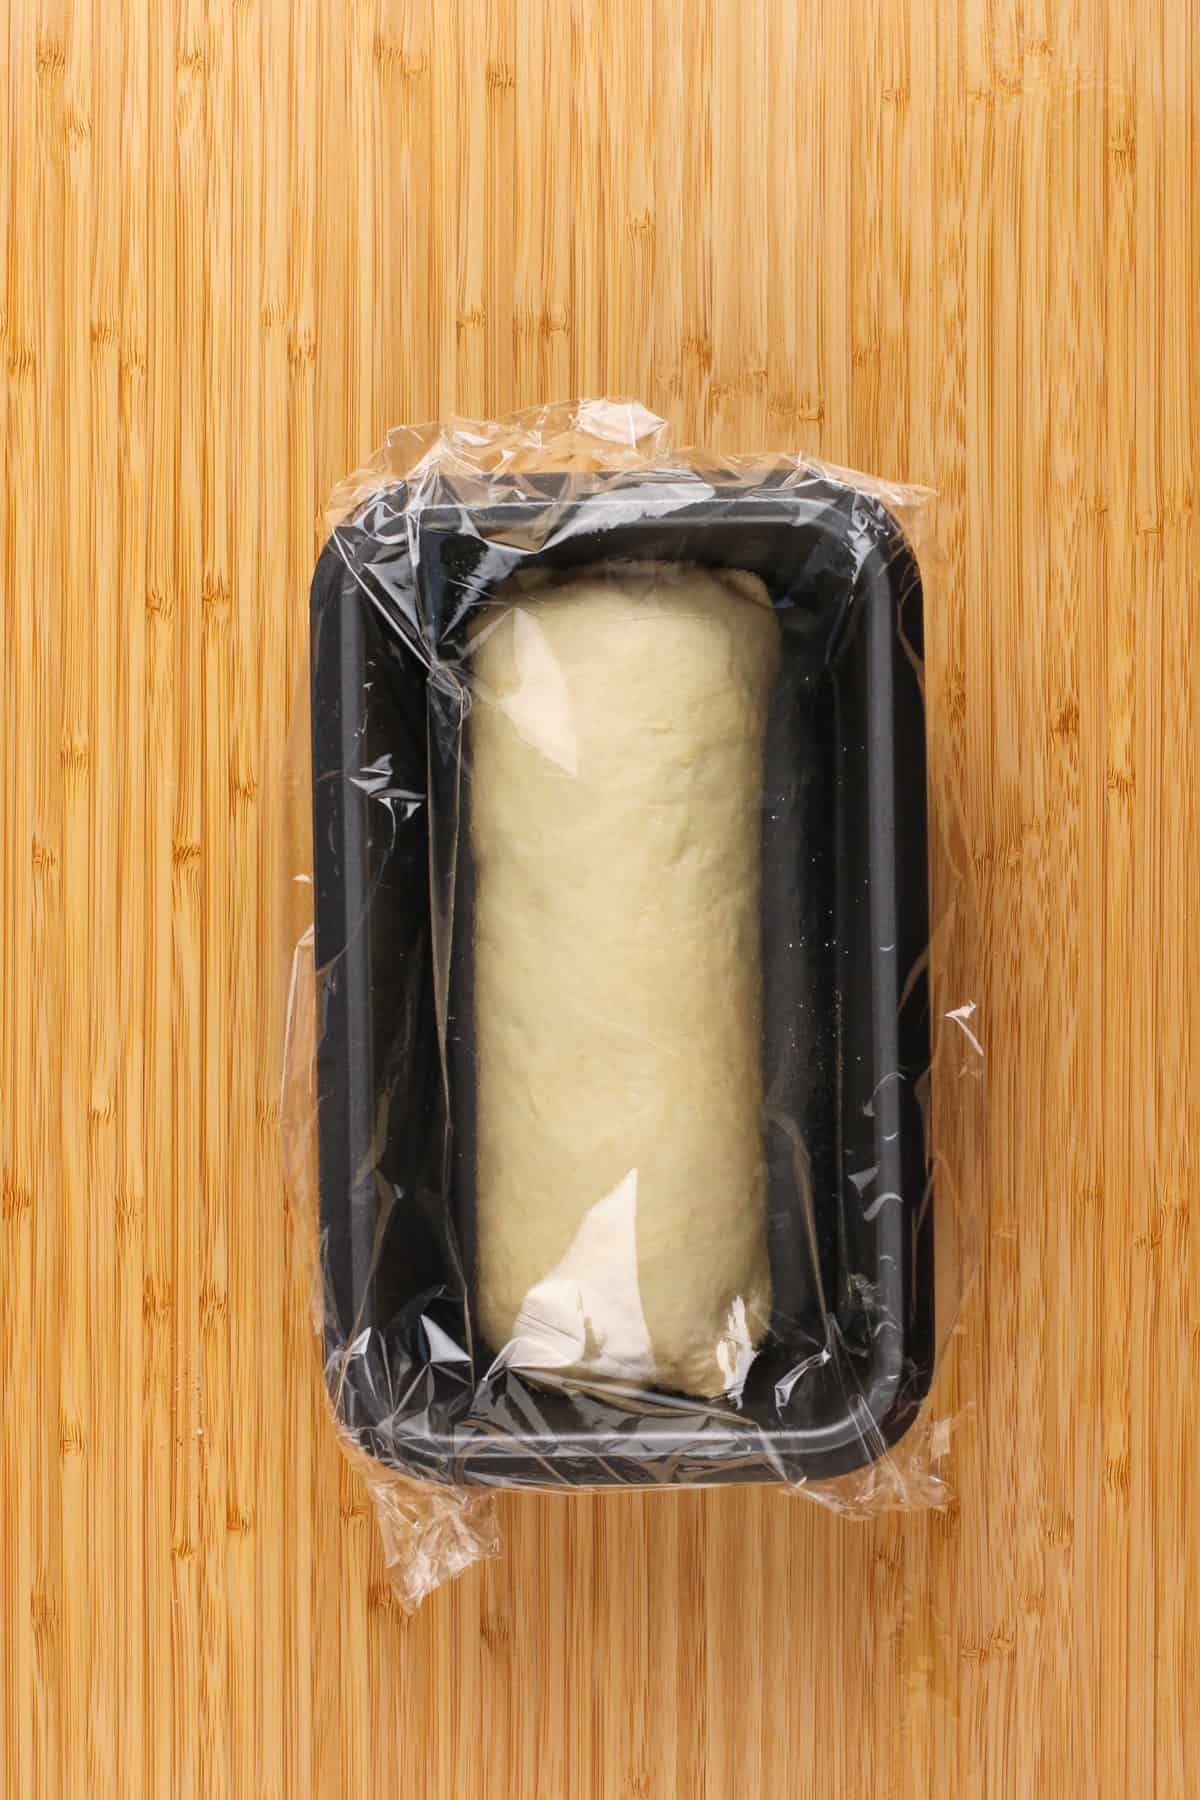
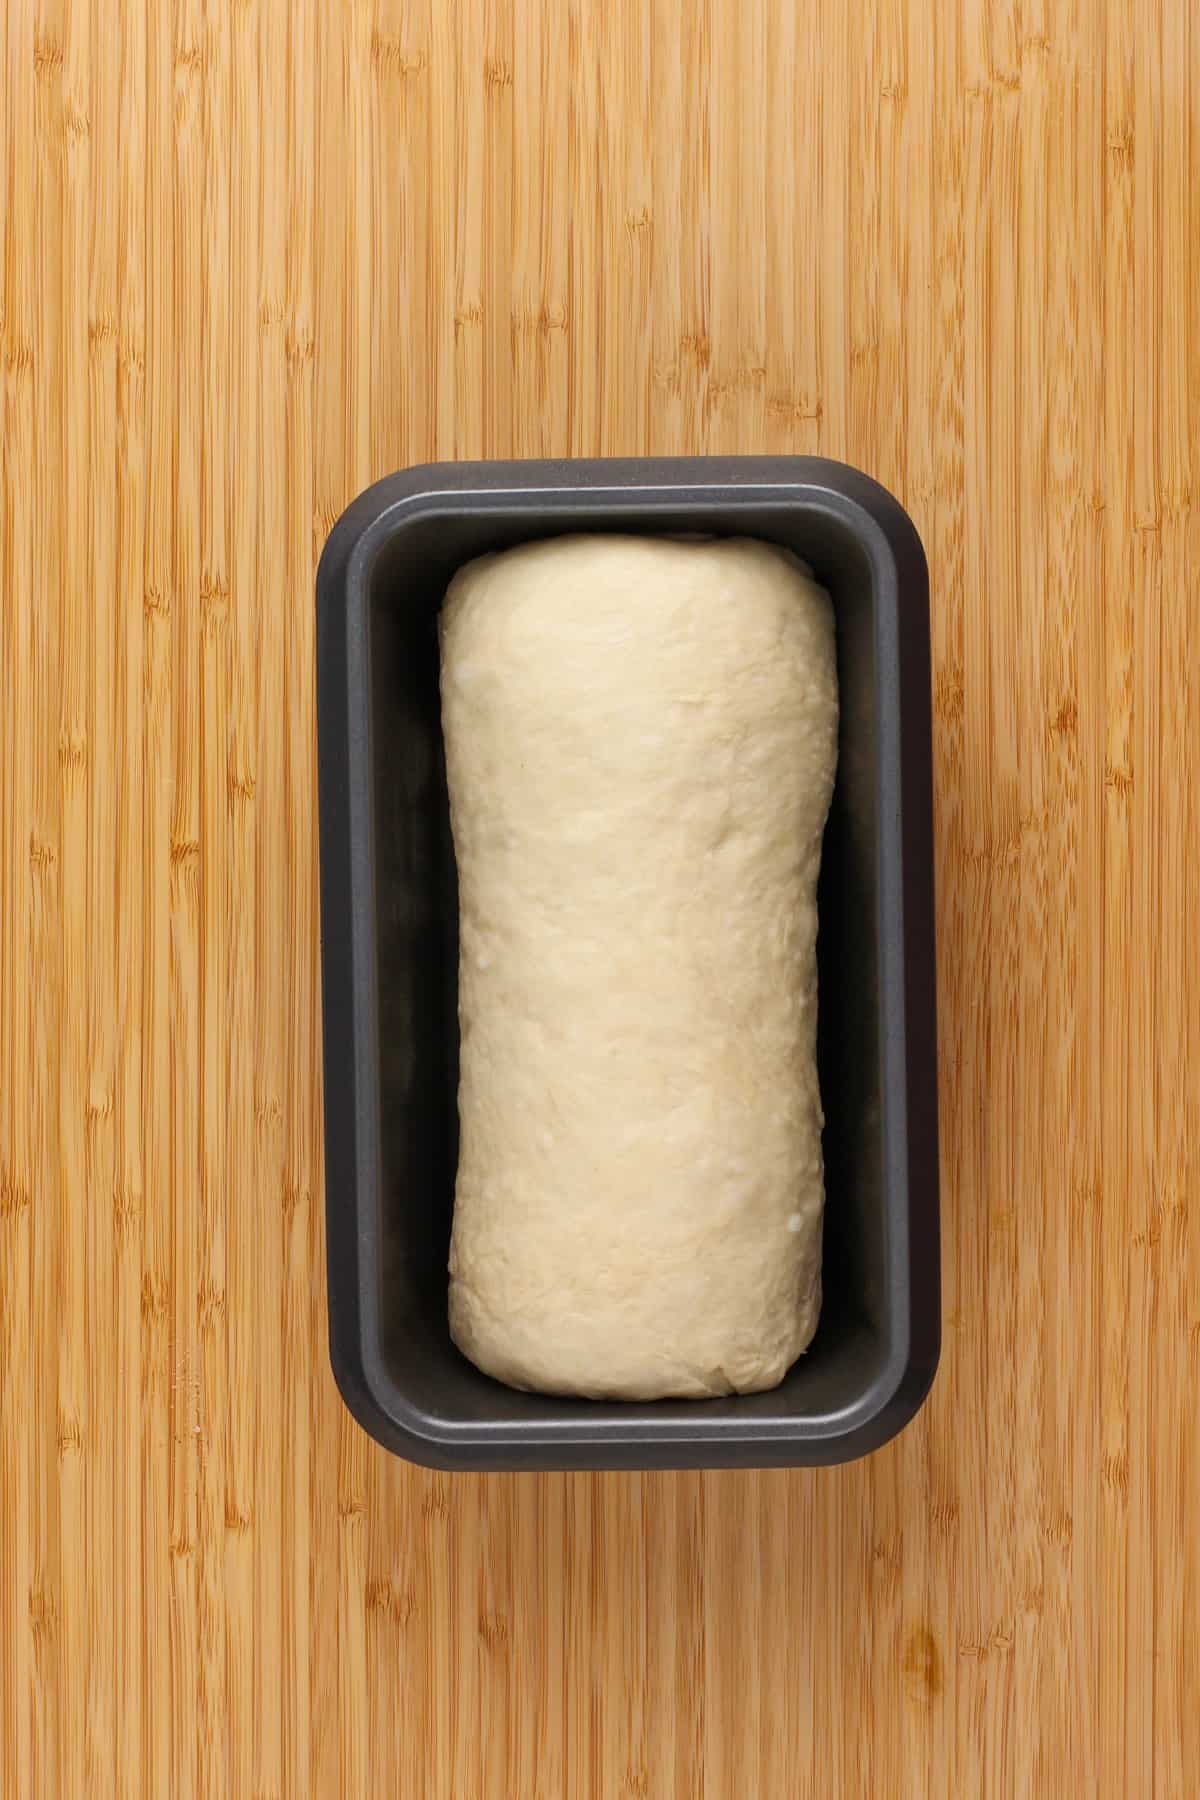
Loosely cover the pan with greased plastic wrap and let the bread rise about 1 more hour, until it has risen 1 inch over the top of the pan. While it’s rising, preheat the oven to 350°F.
Bake the cinnamon swirl bread for 45-55 minutes, until the outside is golden and the interior reads 190°F on an instant read thermometer. If the crust starts to get too brown toward the end of the baking time but the inside still isn’t fully baked through, tent lightly with a piece of foil to prevent the crust from getting darker.
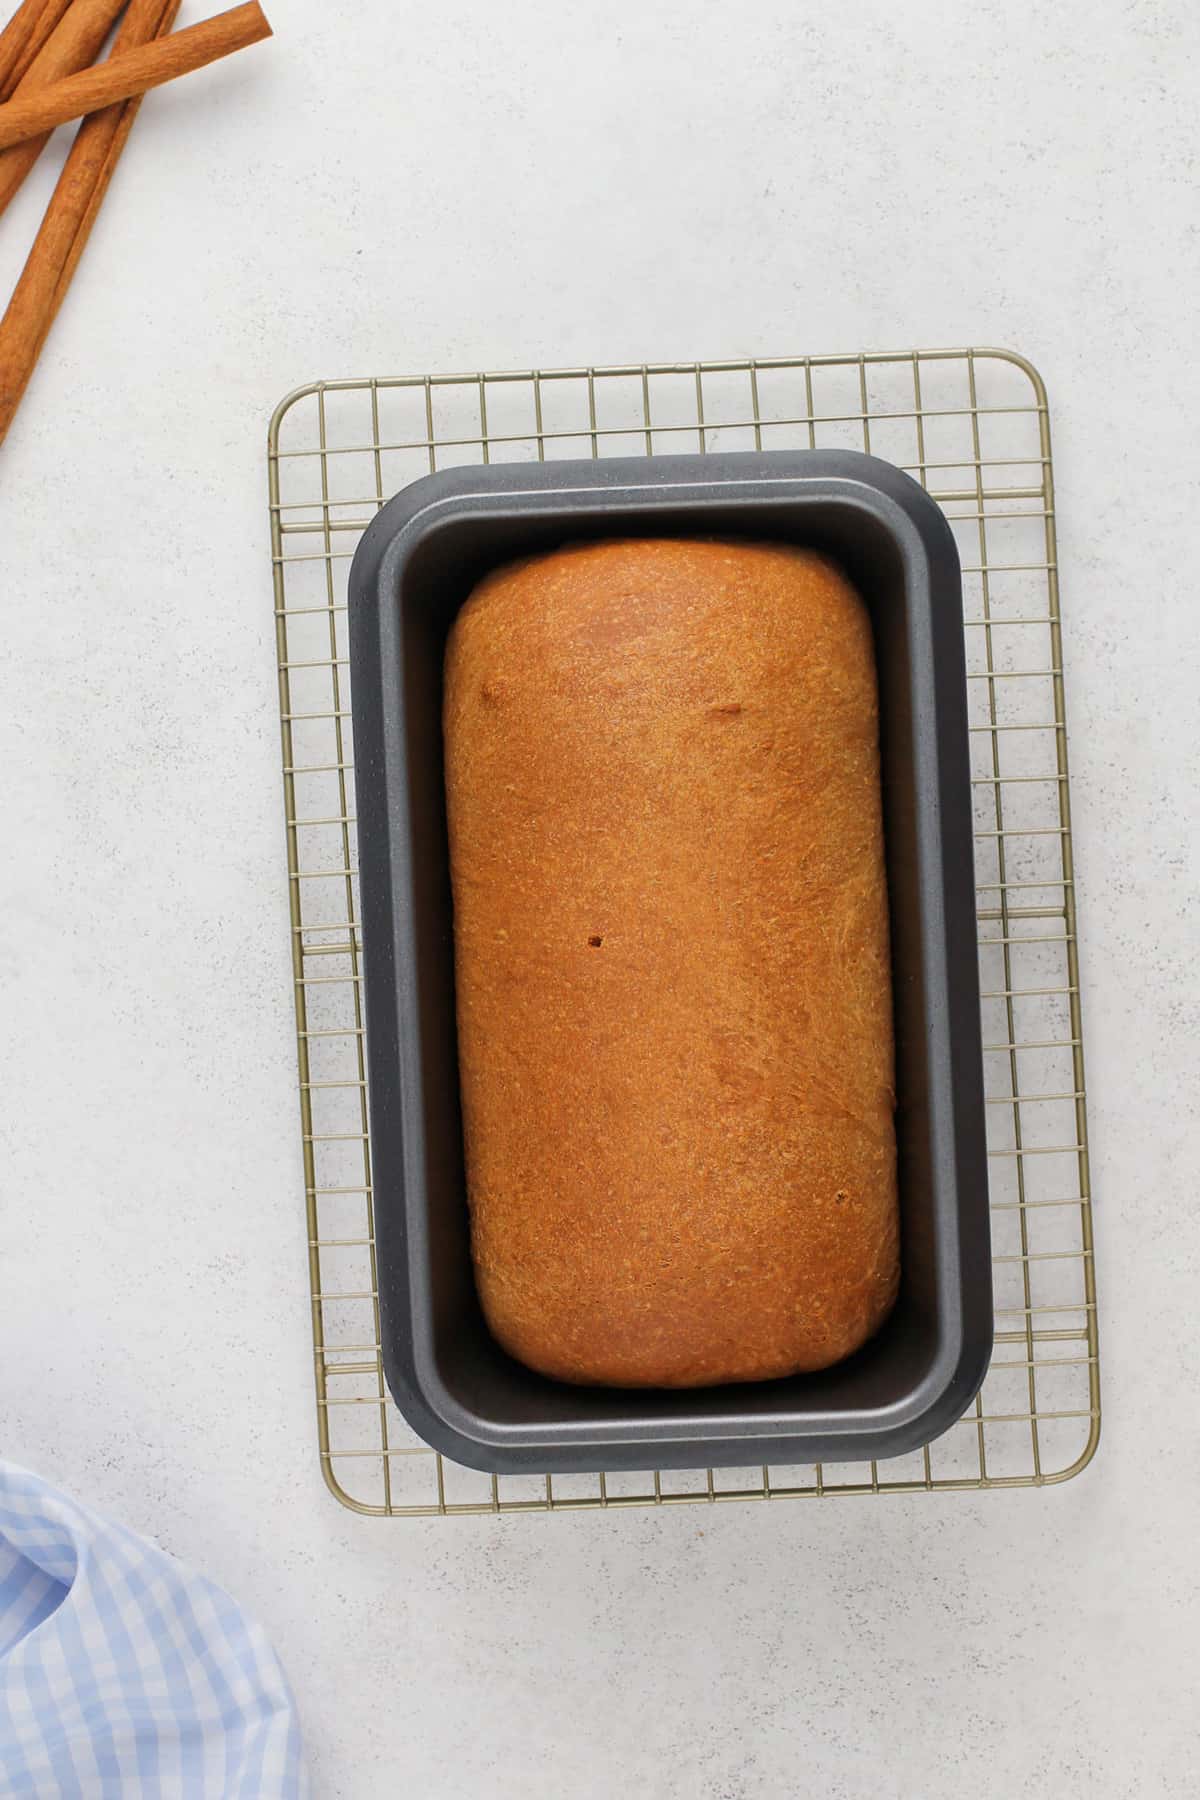
Carefully turn the bread out onto a wire rack to cool. If desired, brush the top with melted butter after it comes out of the oven for a soft, satiny crust.
Let the cinnamon swirl bread cool before slicing and enjoying.
Storage tips
Store your cinnamon swirl bread at room temperature for several days. Make sure to keep it well wrapped; I typically wrap mine in foil.
You can also store it in the freezer for up to a month. Wrap the loaf in a layer of plastic wrap followed by foil. Make sure to label it with the date when it was made so you know its “best by” date!
More filling ideas
Obviously the cinnamon-sugar filling is the classic choice for a cinnamon swirl bread, but there are other ways to change up the filling for this bread.
Try swapping out the cinnamon for pumpkin pie spice, apple pie spice, or chai spice blend for a combination of warm spices swirled into the dough.
You can also add dried raisins or dried cranberries to the filling. Sprinkle them on top of the cinnamon-sugar mixture and roll them up with the dough.
King Arthur Flour makes something called “jammy bits” – their apple cinnamon jammy bits (or similar dried or dehydrated cinnamon apple bits) would be especially good in this filling.
Recipe FAQs
You want the milk used in the dough to be warm enough to activate (ie, wake up) the yeast, but not so hot that it kills the yeast.
If you have an instant-read thermometer, the milk should be around 115°F. If you don’t have a thermometer, it should feel warm but not hot to the inside of your wrist.
Sprinkle a clean countertop with all-purpose flour. Place your dough on the floured surface.
Use the base of one palm to push the dough away from you, then use your other hand to fold the dough back over itself and turn it 90 degrees. Repeat this process for about 8 minutes, adding more flour to the countertop if needed if things get too sticky.
The more you practice the kneading motion, the easier it will become. Kneading does take time, so don’t try to rush it; it’s important for building structure in the dough for your cinnamon swirl bread.
When you’re making any kind of yeast dough, pay the closest attention to the visual cues in the recipe for when the dough is done rising and ready for the next step. For example, if the recipe says that the dough should be “doubled in size” or “until it’s crested about 1″ over the rim of the pan.”
The times given in the recipe will give you an idea of how long this might take, but the exact time will vary depending on how warm your kitchen is.
One easy way to know if the dough is done rising is through the “poke test.” Gently press an indentation into the dough with your finger. If the dough slowly springs back, it’s ready for the next step.
If the dough does not spring back, it needs more time to rise.
One of the first clues that your bread is done or almost done will be the color. The top of the loaf should be deeply golden.
However, depending on your oven, the top of the loaf might be browned before the inside is cooked through!
The most reliable way to check your cinnamon swirl bread is with an instant read thermometer. If you insert it into the center of the loaf, it should read around 190°F when the center of the bread is cooked through.
Without being in your kitchen with you, it’s hard to know exactly what might have happened for your cinnamon swirl bread to not rise, but there are a few common reasons to start with.
Make sure your yeast is fresh. If your yeast isn’t fresh, it won’t rise. I store my yeast in the freezer; this will keep it good for way longer than storing it in the pantry.
Another common issue is that the milk mixture was too hot when you mixed it with the other ingredients. If the milk is too hot, it can kill the yeast, which will keep the dough from rising.
I recommend using an instant-read thermometer to make sure your milk is around 115℉. This is a great temperature for activating the yeast without killing it.
If your dough is rising but just rising more slowly than you think it should, your kitchen might be a bit too cold. Some newer ovens have a dough proofing setting which works great.
If your oven does not have a setting for proofing, try placing the dough in the oven with only the light turned on (don’t turn the actual oven on!). The light will warm the inside of the oven just enough to help the dough rise nicely.
Cinnamon Swirl Bread
Equipment
- 8.5 x 4.5-inch loaf pan
Ingredients
For the dough:
- 1 cup milk
- 6 tablespoons unsalted butter at room temperature
- 2 ¼ teaspoons instant yeast 1 envelope
- 3 ½ cups all-purpose flour
- 1 ½ teaspoons fine sea salt
- 3 tablespoons granulated sugar
For the filling:
- ¼ cup granulated sugar
- 1 ½ teaspoons cinnamon
- 2 teaspoons all-purpose flour
- 1 large egg beaten with 1 tablespoon water
Instructions
Make the dough:
- Add the milk and butter to a microwave-safe bowl or measuring cup. Microwave on high for about 1 minute, or until the temperature reaches around 115℉ on an instant-read thermometer. The butter may not fully melt; that is ok.
- Add the warmed milk mixture to a large bowl. Add the remaining dough ingredients and mix until the dough comes together but is still a bit shaggy.
- Turn the dough out onto a lightly floured surface and knead for 8-10 minutes, or until the dough is smooth and elastic.
- Place the dough in a lightly greased bowl. Cover the bowl, and allow the dough to rise, at room temperature, until it’s nearly doubled in bulk, about 1 hour. To test if the dough is done rising, gently press the dough with your finger. If the dough slowly springs back, it is ready. If the dough does not spring back, it needs to rise a bit longer.
Make the filling:
- While the dough is rising, make the filling by stirring together the sugar, cinnamon, and flour.
- In a separate bowl, whisk together the egg and water.
Fill and shape the bread:
- Transfer the dough to a lightly greased work surface, and pat it into a 6″ x 20″ rectangle.
- Brush the dough with the egg/water mixture and top evenly with the cinnamon-sugar filling.
- Starting with a short end, roll the dough into a log. Pinch the ends to seal, and pinch the long seam closed.
- Transfer the log, seam-side down, to a lightly greased 8 1/2″ x 4 1/2″ loaf pan. Tent the pan loosely with lightly greased plastic wrap.
- Allow the bread to rise until it’s crested about 1″ over the rim of the pan, about 1 hour. Again, it may rise more slowly for you; let it rise till it’s 1″ over the rim of the pan, even if that takes longer than an hour.
- While the dough is rising, preheat the oven to 350°F.
- Bake the bread for 45-55 minutes. If you feel the crust is getting too brown during baking, tent with a piece of foil – the bread will continue baking, but it will prevent the crust from browning further. When done, the bread’s crust will be golden brown, and the interior of the finished loaf should measure 190°F on a digital thermometer.
- Remove the bread from the oven, and gently loosen the edges with a heatproof spatula or table knife. Turn it out of the pan, and brush the top surface with butter, if desired; this will give it a soft, satiny crust. Allow the bread to cool completely before slicing.
Video
Notes
Nutrition
Nutrition information is automatically calculated, so should only be used as an approximation.


I’m curious, on the cinnamon suger bread loaf, can i use bread flour, and if so do I need to adjust anything else in the recipe?
Thank you in advance,
Melanee Collins-Metzler
Nanasgotcandy@gmail.com
Hello! I haven’t tried this recipe with bread flour.
Could I make the dough in a bread machine using the dough cycle?
I have little to no experience with a bread machine, so I honestly have no clue if this recipe will work in one. Sorry I am not more of a help.
-Jamie
Probably my most favorite bread in the world!
This bread is beautiful!
I never knew that there was such thing as a dough whisk, but I think I need one! Thanks for sharing :)
Oh so pretty! Delicious-looking too.
This has got to be the most beautiful loaf of bread I’ve ever seen! It looks absolutely heavenly!!
Looks amazing.. perfect swirl
Looks excellent, cinnamon is my favorite this time of year. Well, that and pumpkin… it’s a close tie.
Oh, LOVELY. I have made this KAF recipe before (had the inevitable gap under my lid the first time, too) and it is spectacular. Yours looks perfect. And isn’t it neat how reliable yeast is? I actually have a harder time with quick breads than I do with yeast breads, which you can pretty much beat the crap out of and still get a yummy loaf. Well done! Another kitchen accomplishment to check off the list!