This post may contain affiliate links. Please read our privacy policy.
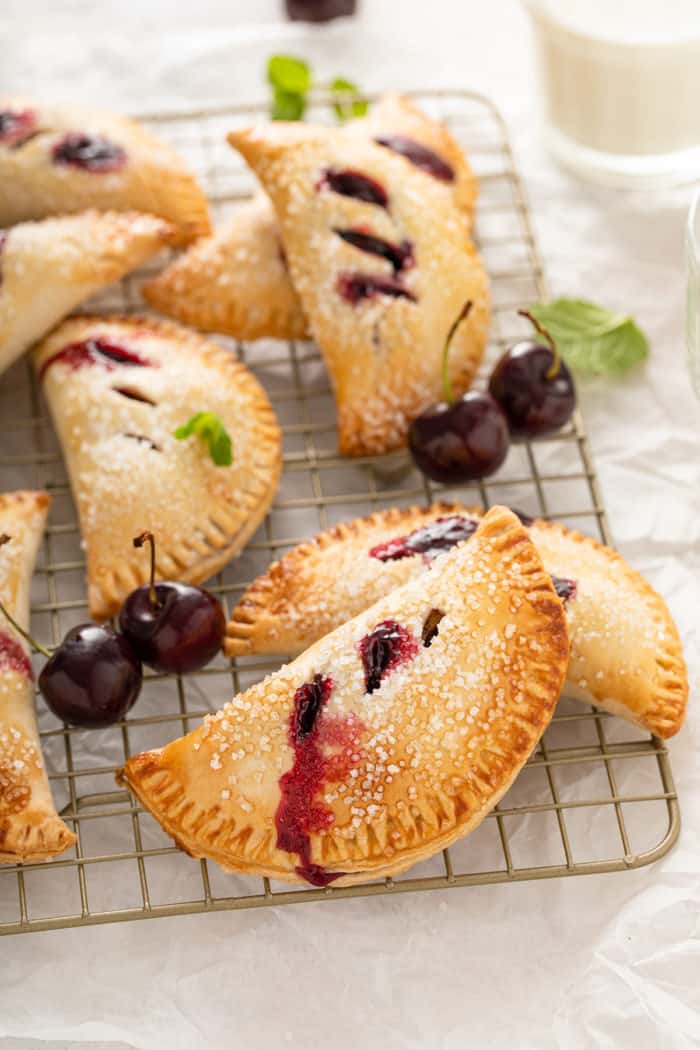
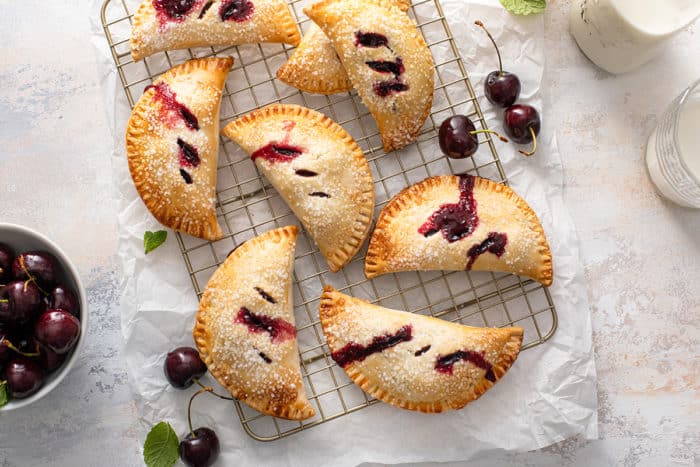
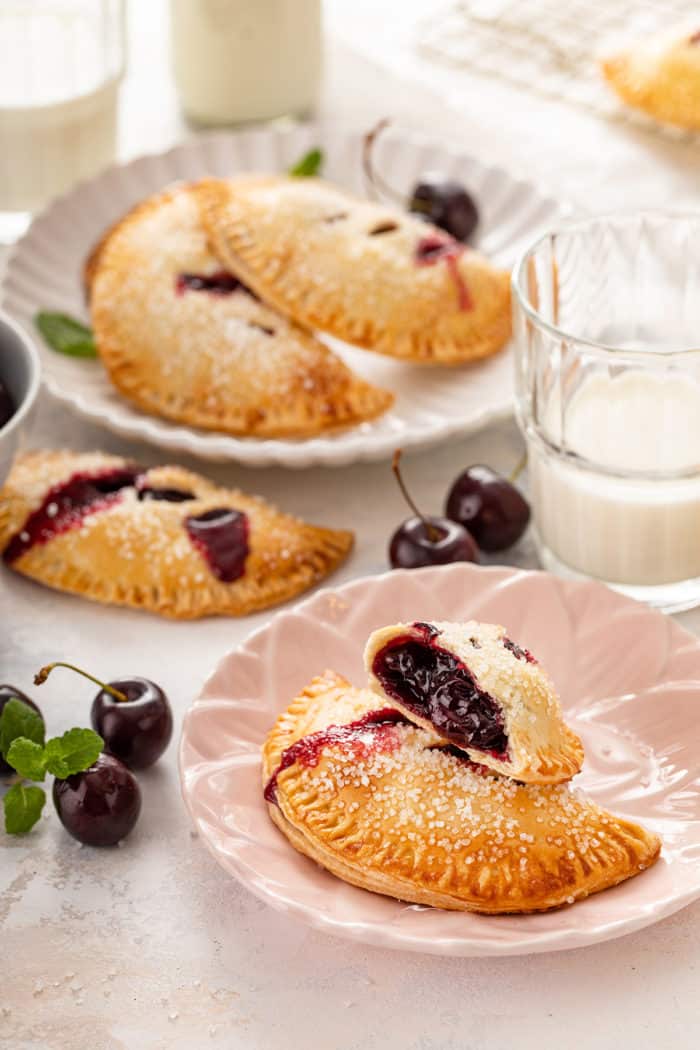
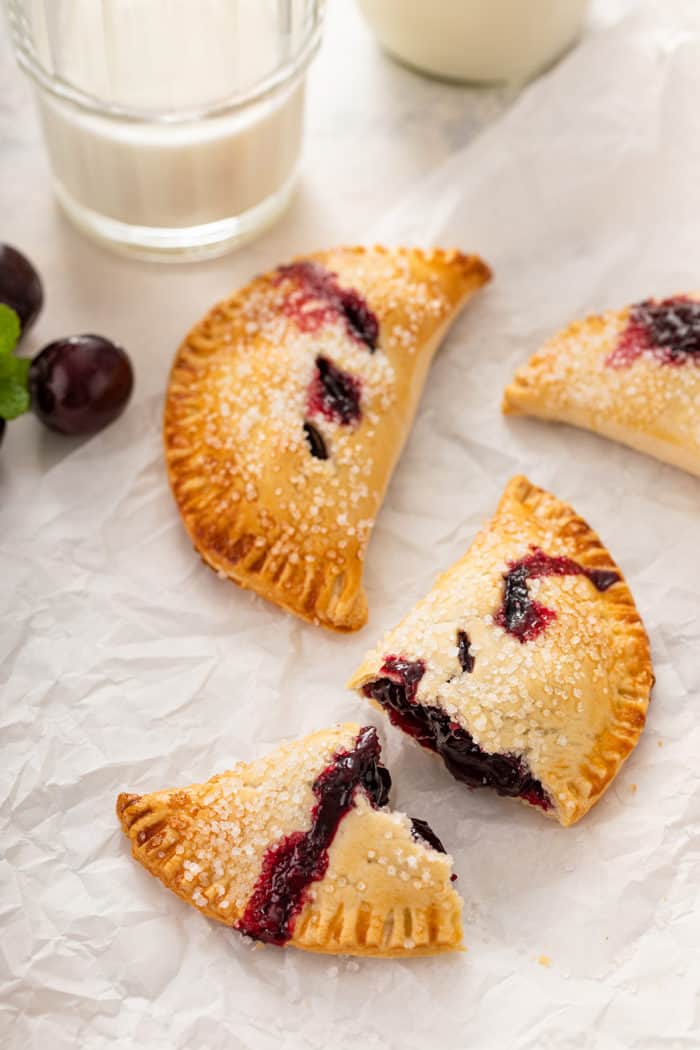
Cherry Hand Pies are the epitome of personal pie goodness! Flaky pie crust and sweet cherry filling in a portable pie form – what more could you ask for?
This post contains affiliate links.
If you’ve been around here for a while, you might have figured out that I love individually sized desserts.
They’re just so cute, fun to eat, and are great for parties or taking to potlucks and cookouts.
Mini pecan pies? Better than a full pecan pie.
Mini pumpkin pies? So much cuter and more fun than a regular-sized pie.
Mini s’mores cheesecakes? Well, I think you get the idea.
And is there a more summer-perfect pie than cherry pie? I feel like there has to be a cherry pie or cherry crisp at every summer barbecue. It’s just the rule!
The minute I see fresh sweet cherries on sale at the store I have to buy them up and pack all of their goodness into Cherry Hand Pies for a portable version of this summer fave.
HOW TO MAKE CHERRY HAND PIES
One of the best things about making these Cherry Hand Pies is that your friends and family will be super impressed with them. After all, they’re little individual pies!
But the truth is that they’re really easy to make. I’ll show you how!
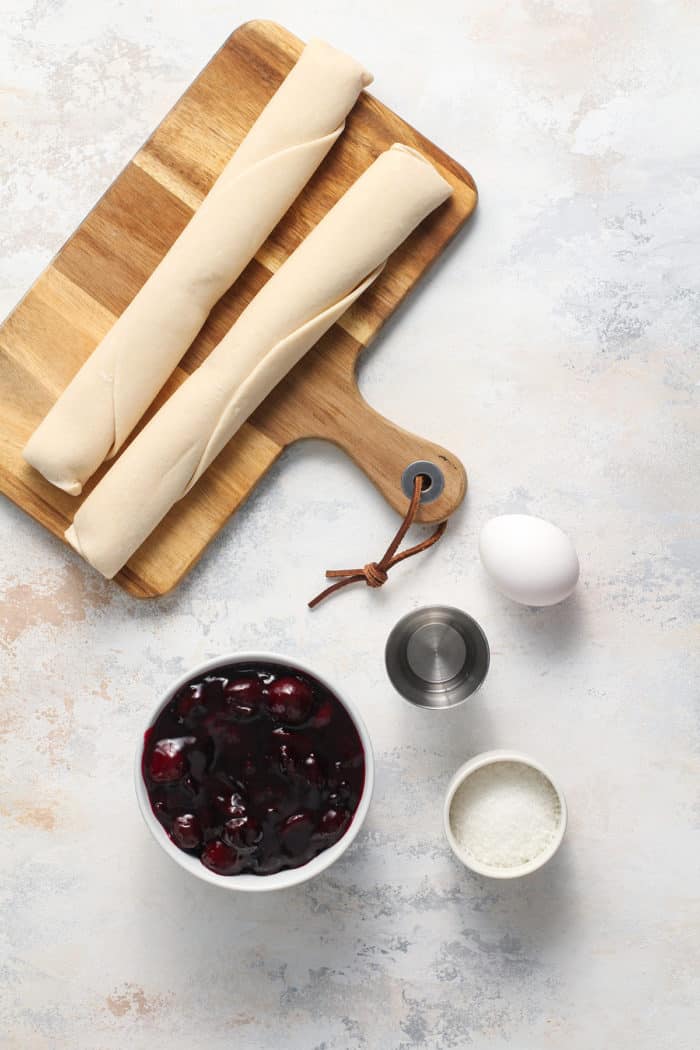
Ingredients you’ll need
You really only need a tiny handful of ingredients to make these hand pies:
- Pie crust
- Homemade cherry pie filling
- Coarse sugar or turbinado sugar
- Egg wash (1 egg + 1 tablespoon of water)
I like to use a pre-made refrigerated pie crust for these little pies. It makes it easy to unroll, cut, and assemble without the fuss of making a pie crust from scratch.
My homemade cherry pie filling is also a staple here. I like to make several batches of this pie filling and freeze it for later use.
These hand pies are one of the perfect ways to use about ½ of one batch! Use the other half to make and freeze some cherry turnovers.
Tools you’ll need
The main piece of equipment you’ll need to make these hand pies is a rolling pin to roll out the crust.
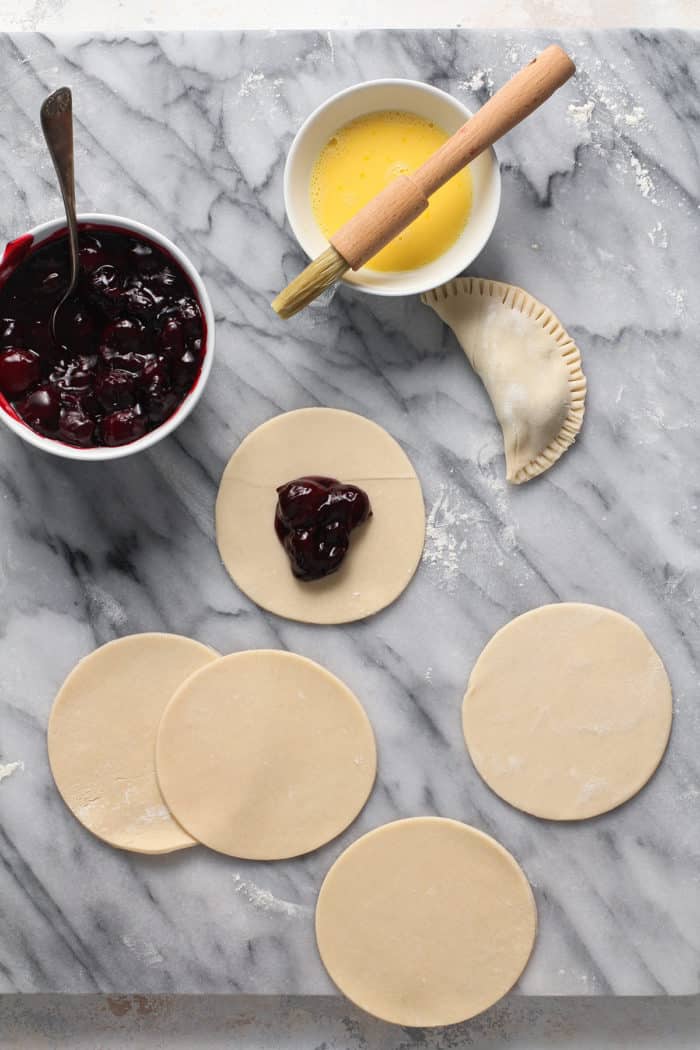
You can cut the crust into rectangles or cut it into circles. I like to use the 5-inch cutter from my biscuit cutter set to make the circles, but you can also trace around a bowl or plate with a sharp paring knife to do this.
Making this recipe
Prepare your pie crust by rolling it out on a lightly floured surface. You want it to be in about a 12×20-inch rectangle.
If you’re using a refrigerated pie crust, piece the two circles together to turn them into a rectangle shape.
Once your crust is to size, cut the dough into 8 5–inch circles or cut it into 8 rectangles, about 5×6-inches each.
Spoon about 2 tablespoons of the cherry pie filling into the center of each piece of dough. Whisk together the egg wash, then brush it along the edges of the dough and fold each dough piece in half over the pie filling.
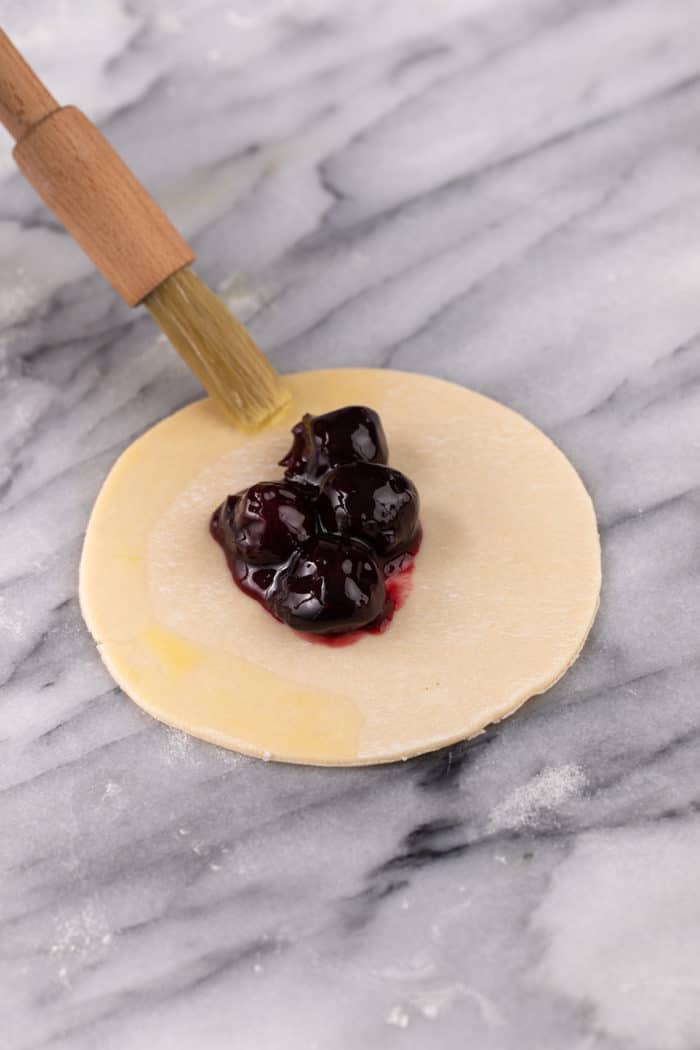
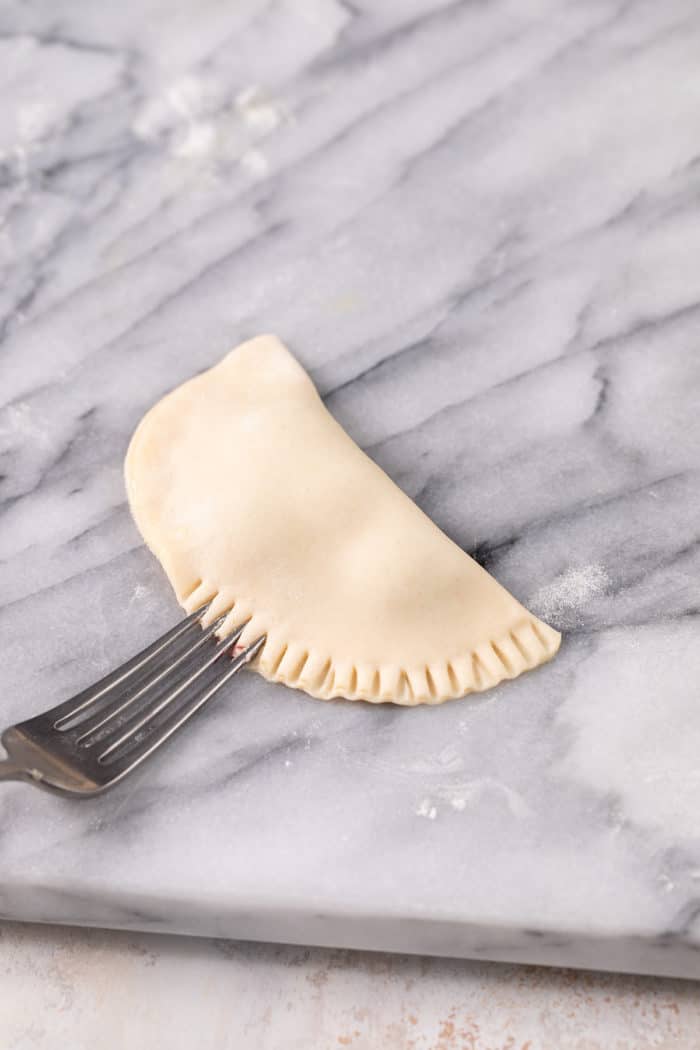
Use a fork to crimp the edges closed, then place each hand pie on a lined baking sheet.
Use a knife to cut 3 small slits into the top of each of the pies. Brush a bit more egg wash on the tops, then sprinkle them with some coarse sugar or turbinado sugar. This will lightly sweeten the tops and add a lovely crunch.
Bake the pies for about 20 minutes. You’ll know they’re done when the crust is golden and the filling is bubbly.
Let them cool for about 5 minutes before serving or before moving them to a wire rack to finish cooling.
CAN YOU FREEZE CHERRY HAND PIES?
You don’t have to make and eat all of your Cherry Hand Pies right away. You can freeze some for later!
That’s right – just like when we made Apple Turnovers, you can freeze your unbaked hand pies and enjoy them later, any time you get a craving for a little bit of pie.
To freeze the pies, assemble them as written, up through cutting the slits in the top of the pies. Don’t brush them with the egg wash, though.
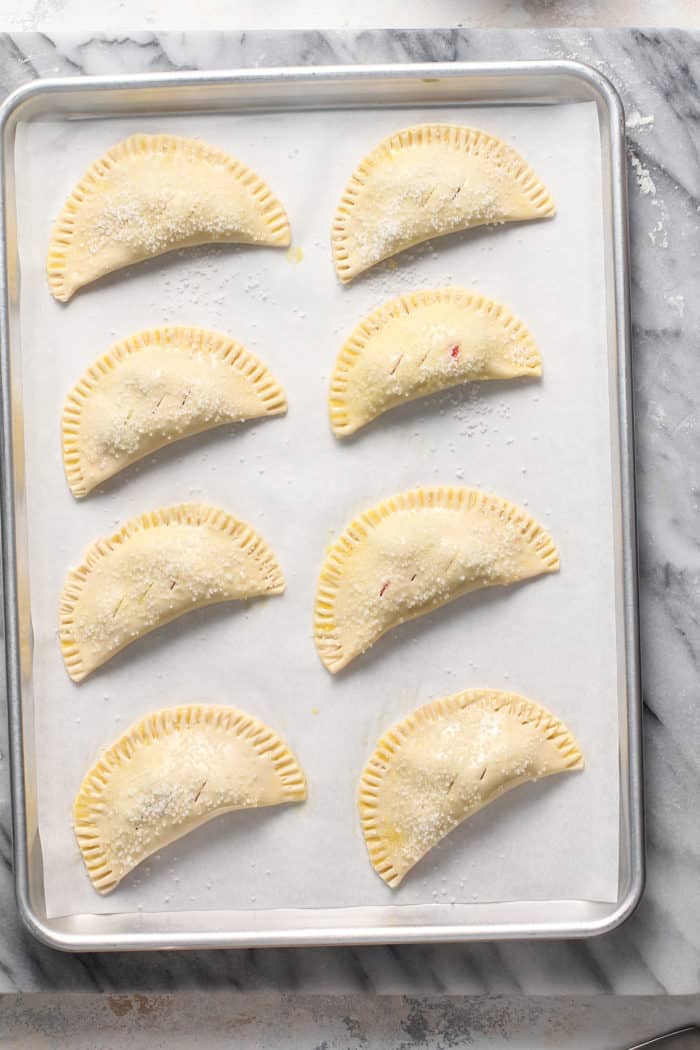
Place the assembled pies onto a parchment-lined baking sheet, then place the entire baking sheet in the freezer until the pies are solid. This will probably take 1-2 hours.
Once the hand pies are frozen, you can take them off the baking sheet and put them in a zip-top freezer bag or an airtight container for up to 3 months. Always make sure you label your frozen treats with the recipe name and the date when you froze them!
Baking hand pies from frozen
Baking frozen Cherry Hand Pies is as easy as…well, pie!
When you’re ready to bake, place as many of the hand pies as you like on a lined baking sheet. Now is when you can brush the tops with the egg wash and sprinkle with the coarse sugar if you’d like.
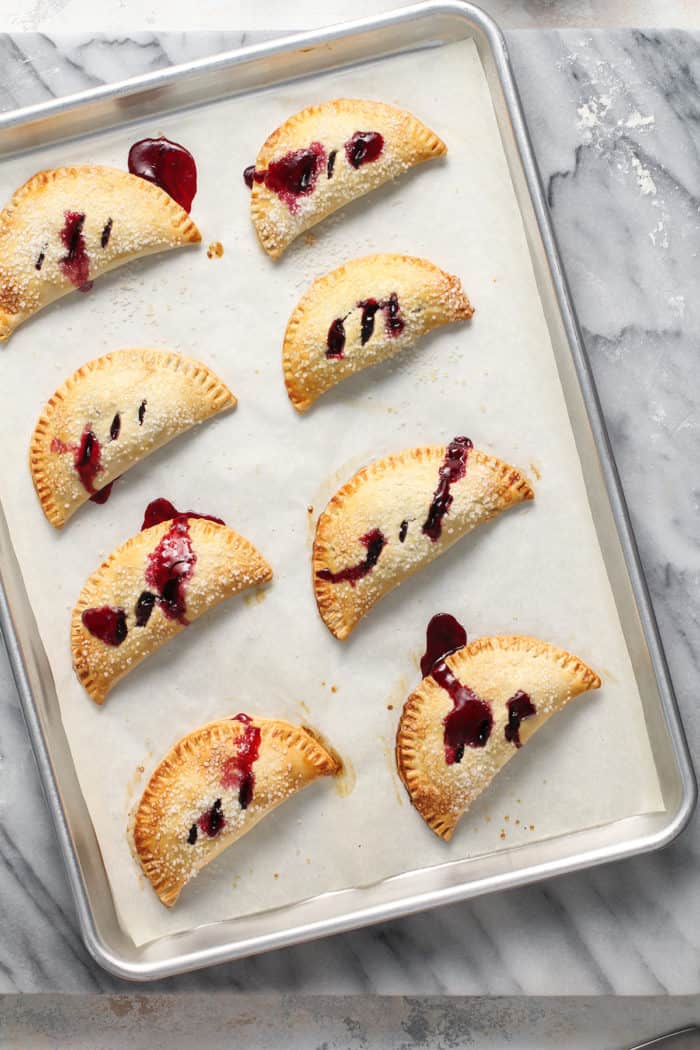
Bake the pies at 400°F for 20-25 minutes. They’ll be golden, bubbly, and perfectly delicious once they’re done!
RECIPE ADAPTATIONS
There are a few different ways you can change up this recipe to fit your wants and needs.
Don’t want to use a pre-made pie crust? You can always use a homemade pie crust.
If you aren’t a fan of the coarse sugar on top of the pies, leave it off or swap it out for a simple powdered sugar icing after the pies cool.
Not a cherry person? That’s ok! Use your favorite pie filling instead. Peach pie filling would be delicious, as would blueberry pie filling!
You could even go more fall-themed and make apple hand pies.
Once you have the method down, you’ll come up with all sorts of ways to make these Cherry Hand Pies your own and make them your most-requested recipe at all of your parties and cookouts.
Cherry Hand Pies

Ingredients
- Pie crust for 9-inch double-crust pie
- 2 cups homemade cherry pie filling
- Coarse sugar or turbinado sugar
For the egg wash:
- 1 large egg
- 1 tablespoon water
Instructions
- Preheat oven to 400°F. Line a baking sheet with parchment paper or a silicone baking mat.
- On a lightly floured surface, roll pie crust out to a 12×20-inch rectangle. Cut the dough into 8 rectangles, about 5×6-inches each. Alternatively, cut the dough into 8 5-inch circles.
- Place about 2 tablespoons of cherry pie filling in the center of each piece of dough. Brush the egg wash along the edges of the dough and fold in half. If cut into rectangles, fold so the short ends meet, creating a 5×3-inch packet. Use a fork to crimp the edges to seal.
- Carefully place the pies on the prepared baking sheet. Use a knife to cut 3 slits into the top of the pies. Brush the tops with the egg wash, then sprinkle with the coarse sugar or turbinado sugar.
- Bake for 20 minutes or until golden brown and the filling is bubbly. Allow to cool on the baking sheet for 5 minutes before transferring to a wire rack to finish cooling.
To freeze:
- To freeze the pies, place the assembled hand pies on a baking sheet lined with parchment paper. Cut 3 slits into the top of each pie but do not brush with the egg wash.
- Place the baking sheet with the pies into the freezer and freeze until solid. Store frozen hand pies in a zip-top freezer bag for up to 3 months.
- When ready to bake, place the frozen pies on a lined baking sheet; optionally brush with egg wash and sprinkle with coarse sugar before baking. Bake at 400°F for 20-25 minutes.
Video
Notes
Nutrition
Nutrition information is automatically calculated, so should only be used as an approximation.




Awesome! My husband is not a dessert person except for cherry turnovers, or hand pies. We both loved this recipe, thank you.
So happy to hear you enjoyed the recipe! Thanks so much for stopping by and leaving your feedback!
-Jamie
Hi Jamie!
I just wanted to say that your blog is gorgeous! Love the photography and the light in your photos.
I’d love to include your Cherry Hand Pies in a hand pie recipe roundup that I’m preparing for Parade Magazine (to be published in Sept).
If you’re fine with it, could I use one of your photos with a linkback to your original post (https://www.mybakingaddiction.com/cherry-hand-pies-recipe/)?
Let me know your thoughts & thanks so much in advance!
Cheers,
Felicia
Felicia-
Hello! Yes, that is fine – thanks so much for contacting me.
-Jamie
These look so good! I am very glad it is cherry season in Spain. I am going to make these tomorrow!
If I didn’t have puff pastry on hand could I make a pie crust and use instead?
Pie crust will work but give a different texture to the crust of the pies. Thanks for stopping by.
-Jamie
How do I get the Stouffer’s Ad off your page? I couldn’t read the recipe because the Ad was on top of it and there was no “close” button….grrr..
Bernie, I’m sorry you had trouble. I’m not sure which ad is the Stouffer’s one, as they change from person to person. I will say that every pop-up ad is required by law to have a close button, so I know it’s there. Just not sure where.
– Jamie